Please ensure you have completed the below section of your Thermometer Builder before progressing with the writeback:
The write-back can be used with either method mentioned in our AutoTask Thermometer creation guide:
- In a Notification Template (e.g. in the closing ticket notification)
- In a Survey Email Message
But we’ve used the notification template (method 1) as an example below.
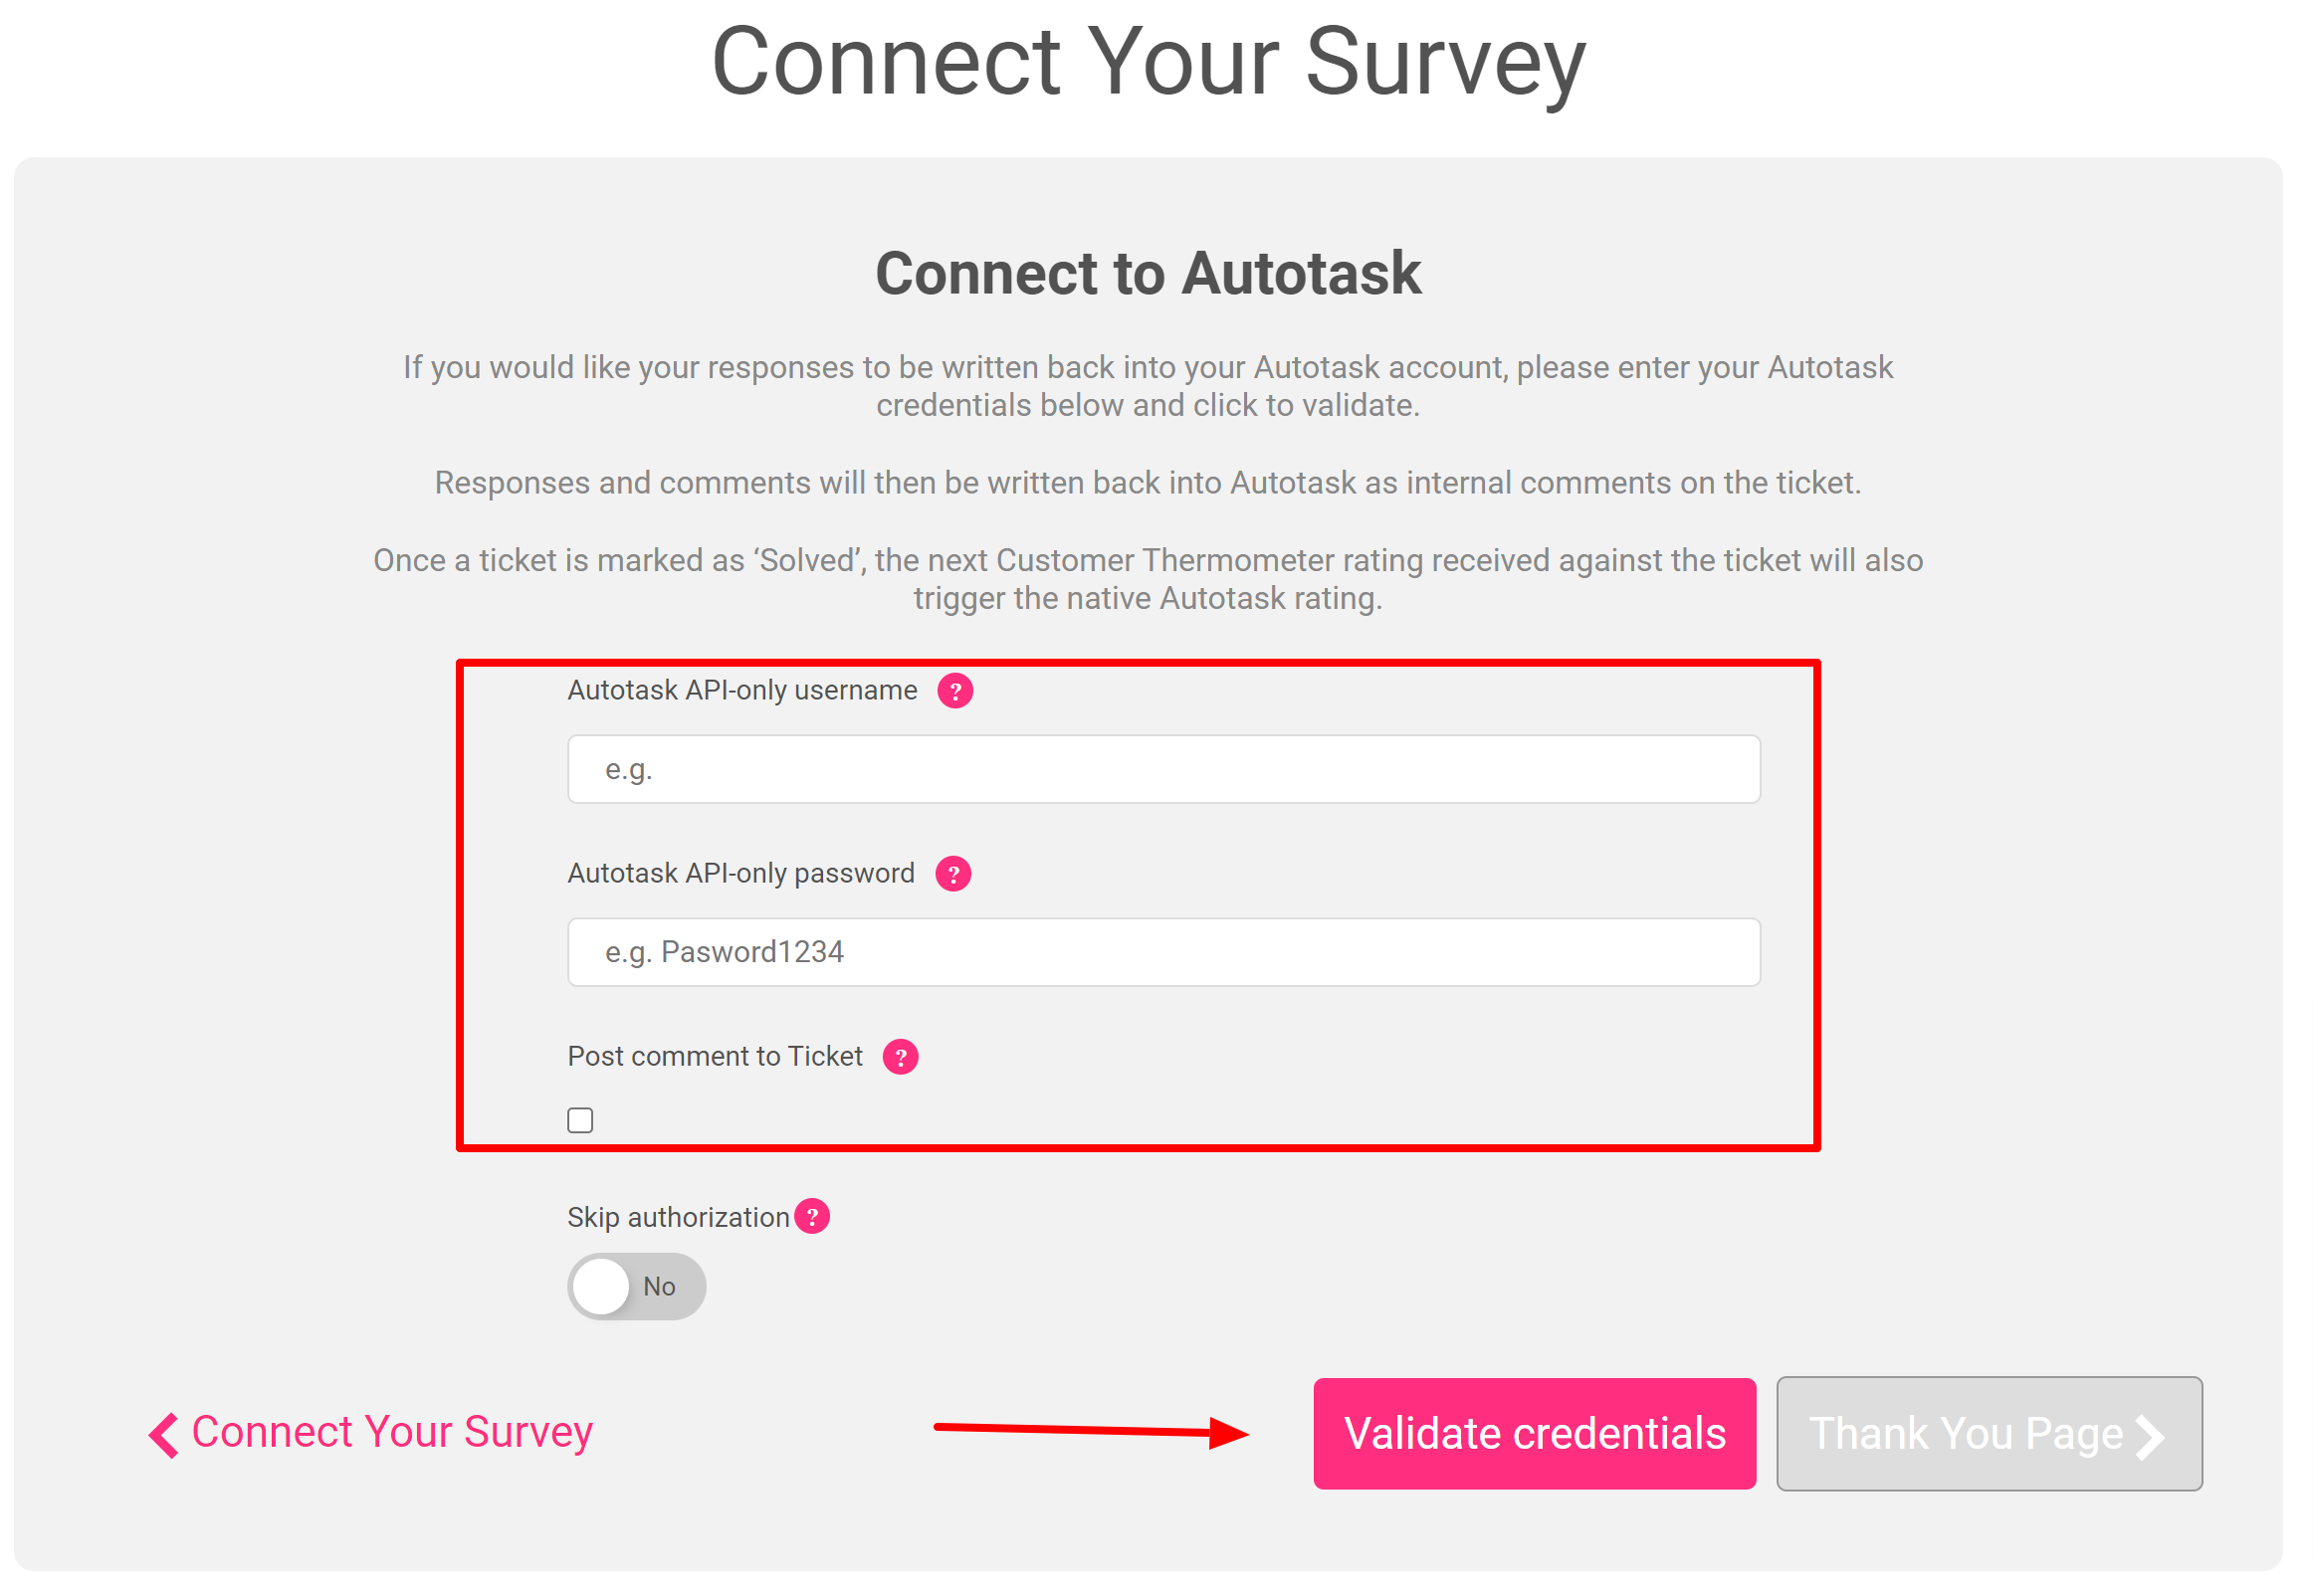
For method 2 (Survey Email Message) simply ensure your AutoTask credentials have been verified within your Thermometer in order for the write-back to work.
Notification Template write-back example
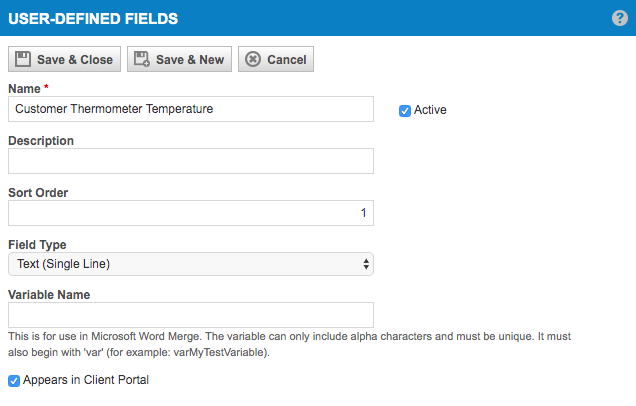
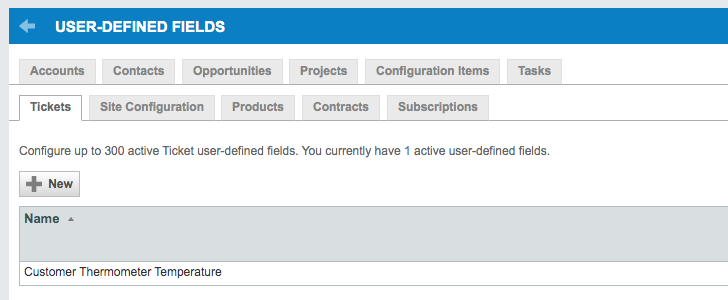
At this point you should be able to log in to Autotask and Go to Admin > User Defined Fields > Tickets and see the newly defined field “Customer Thermometer Temperature”.
Generate the Thermometer survey HTML and copy the code.
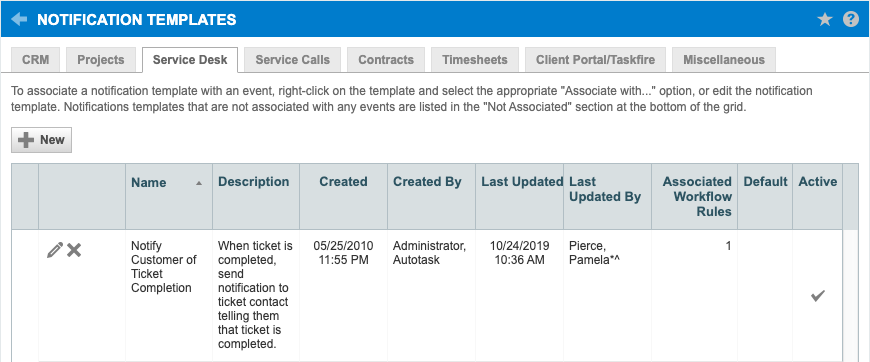
In Autotask, go to Admin, Notification Templates, Service Desk, Notify Customer of Ticket Completion and click on the pencil to edit the entry.
In the HTML box paste your thermometer HTML into the footer, give it a marker: # YOUR TEST ID to separate it from the existing ones. I’ve added multiple embeds from different tests and systems, they can all be sent on the same notification.
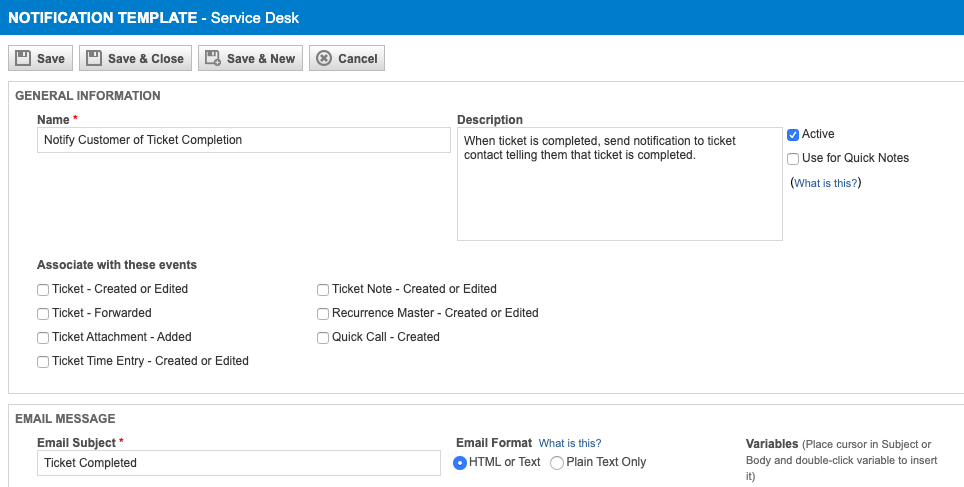
Save it.
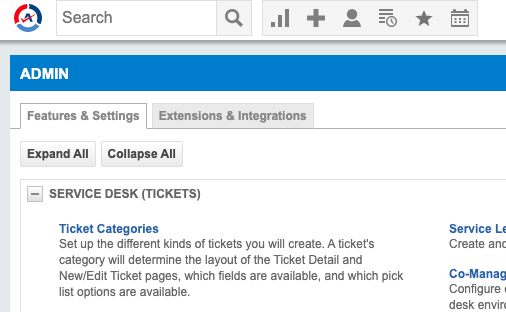
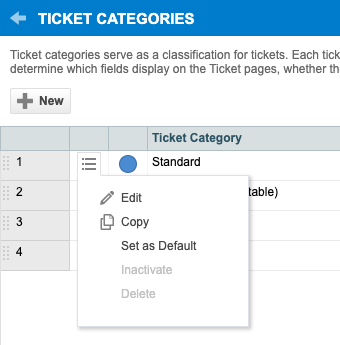
At this point you can go to Admin, Features & Settings, Service Desk (Tickets), Ticket Categories, Standard, hover over the bullet point symbol and click Edit, then move the newly defined field into section 5 to make it visible on the tickets.
Make a new ticket as a test in the Service Desk as normal and complete it.
Await the test email, and click on a temperature rating in the email footer.
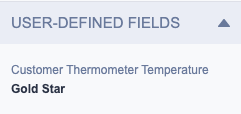
Verify that the rating is recorded against the ticket (you’ll have to close the ticket and refresh to see the value), scrolling down to the bottom to User-Defined Fields.
Reporting in AutoTask
Using the user-defined field “Customer Thermometer Temperature”, it is possible to create reports and widgets within AutoTask.
This field will contain the temperature value for the rating that was left.
