This guidance is for Email Thermometers only.
For Embedded Thermometers (surveys sent from another system) please click here.
What is a Thank you page?
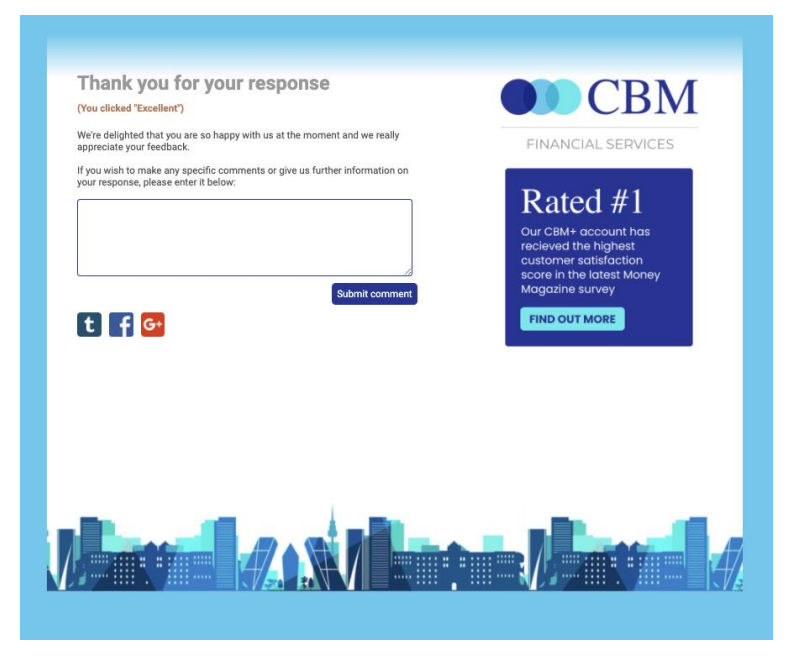
It’s time to get those Thank you pages looking beautiful! The thank you page is what the recipient will see after a rating has been selected. It gives the recipient the opportunity to leave additional feedback on their initial rating and also confirms the response has been submitted.
There are 4 landing pages per Thermometer (one for each possible rating.)
Each landing page can be previewed using the buttons at the top of your landing page set-up tab (this does not register as a response):

You will need to save your latest edits before you can preview them.
Landing page creation
It’s time to get those Thank you pages looking beautiful!
See below for a step-by-step walkthrough:
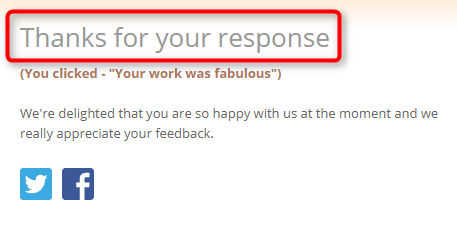
Landing page intro heading
This text acknowledges the response and is consistent across all four pages.
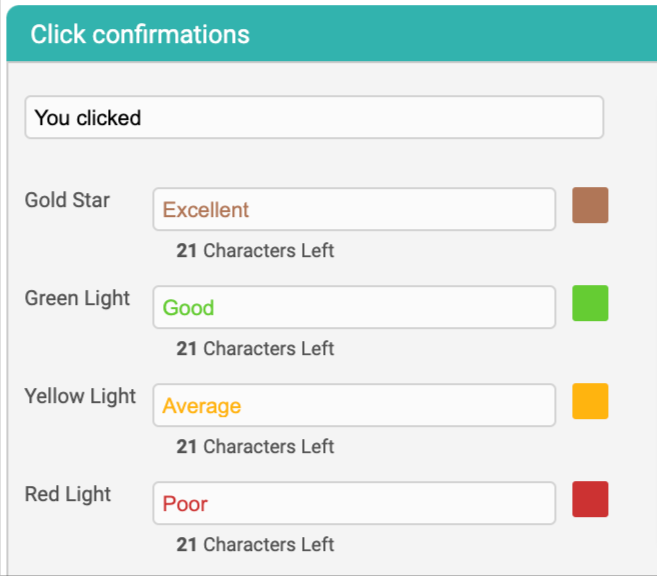
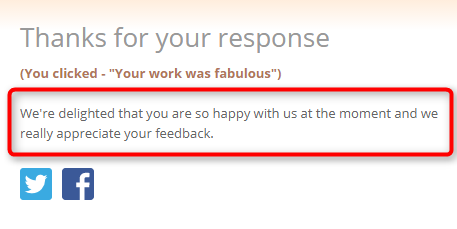
Click confirmations
Click confirmations appear at the top of the landing pages to confirm to the recipient which rating they have selected. These can be customised to fall in line with your chosen icon descriptions.

Comments setup
You can enable a comments box on each of the Thank you pages giving the option for a recipient to leave a comment. Simply tick the boxes of the rating's Thank you pages you would like to enable a comments box on.
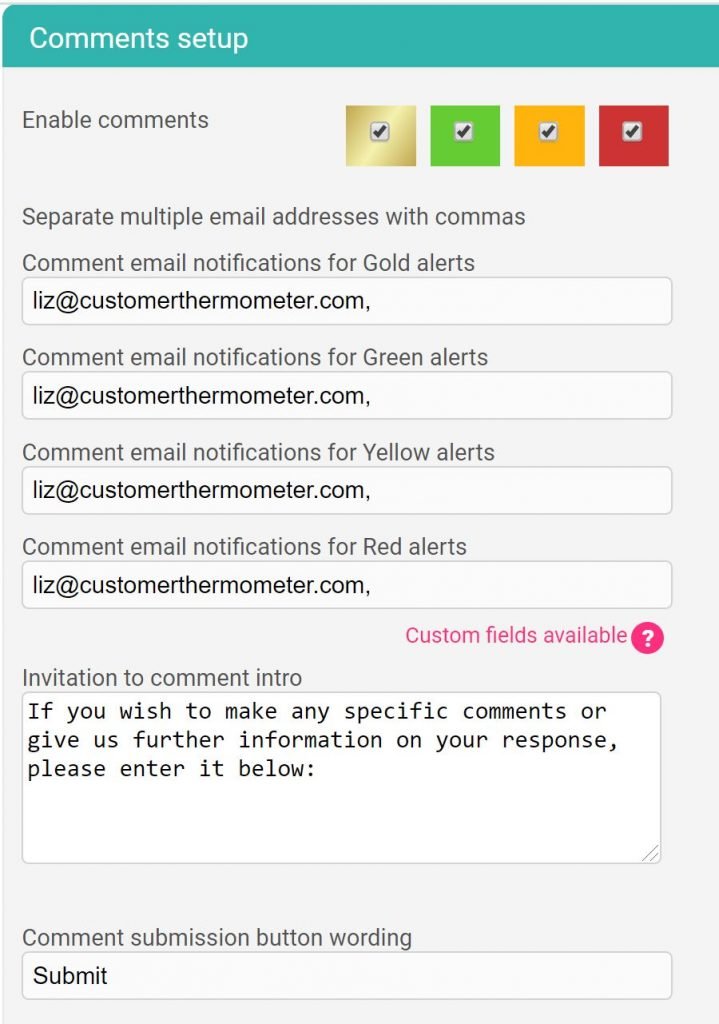
To receive comment alerts when a comment is left, enter the email address(es) as shown above.
Thank you text
Thank you text can be customised for each landing page type. Ensure you reflect the response with your choice of language. The default text will be helpful.
You can stylise the text / add hyperlinks as required, using the toolbar:
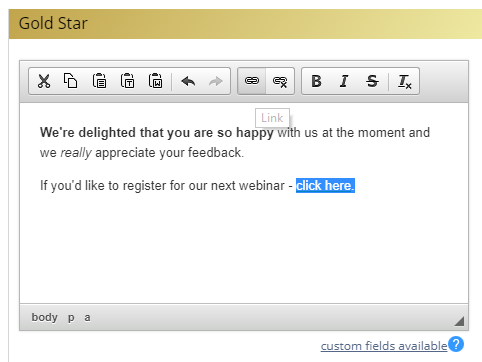
Custom fields are also available to add within the text.
The fields within the landing pages are designed to only contain short simple text, but it is absolutely fine to use bits of HTML formatting like bold or spacing for example.
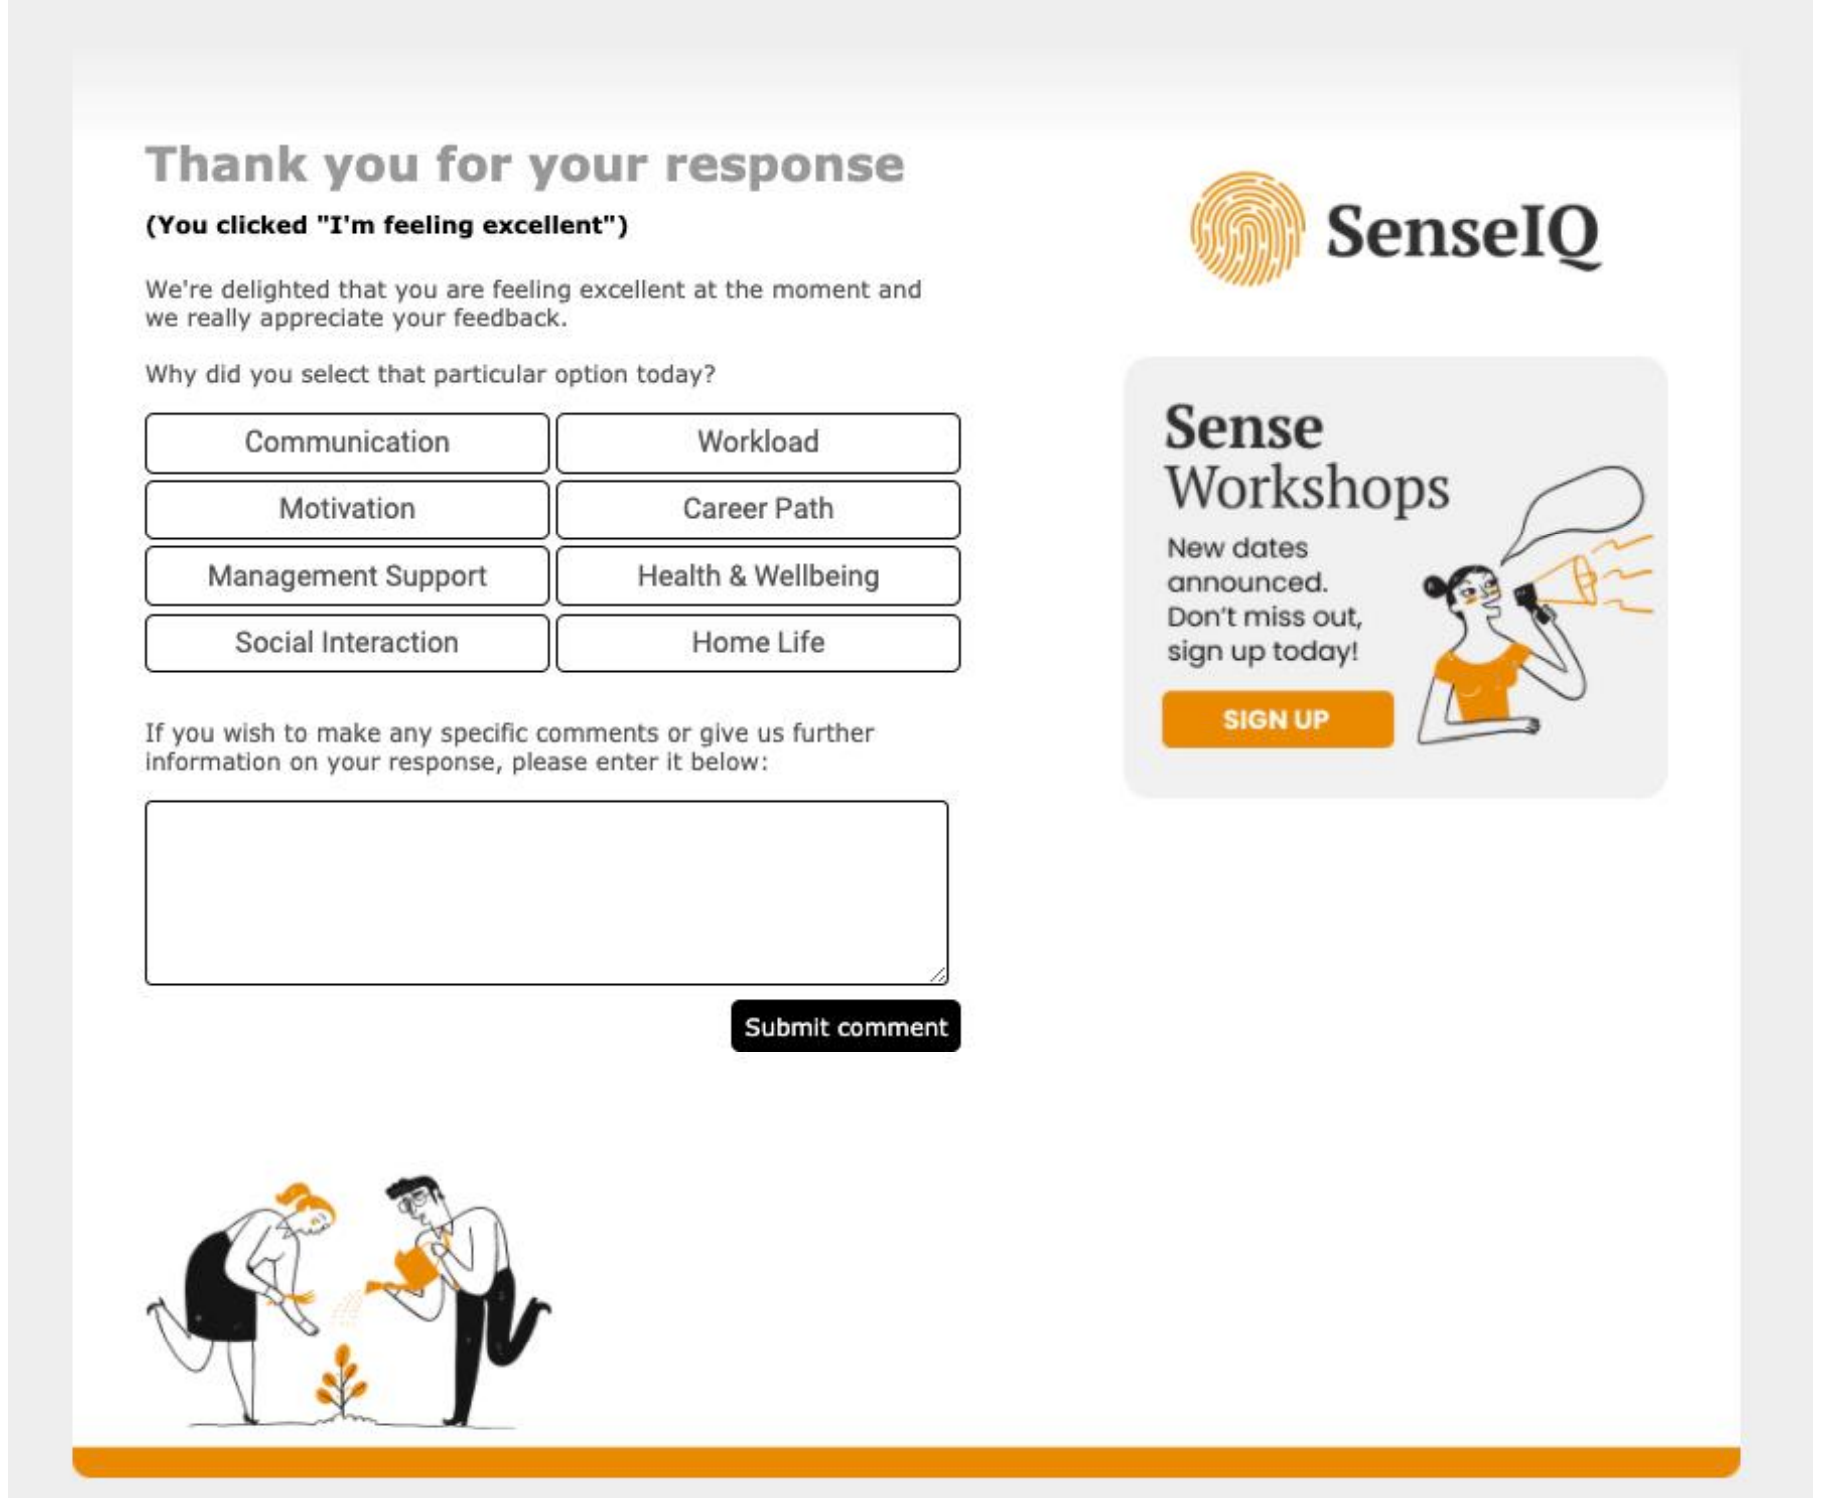
Response Drivers
Response Drivers give you that extra piece of insight as to why a recipient has clicked on a certain icon. They allow you to really pinpoint the areas which need improving or rewarding within your business by classifying those essential pieces of feedback.
You can add up to 8 Drivers for your respondents to choose from and tailor these to show depending on the rating given.

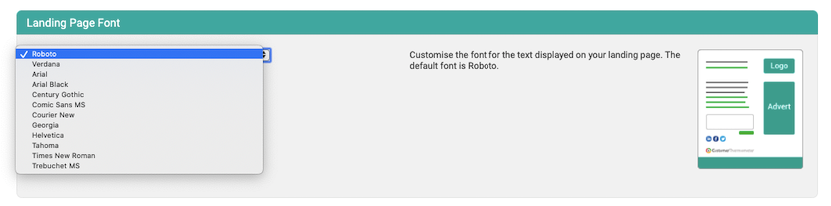
Font
You can choose from a range of web-safe fonts for your comment capture and landing pages. Really helpful to match in with your corporate font book or brand guidelines.
Social media buttons
Typically you’d include social media buttons on Gold and/or Green landing pages. You can create as many buttons as you’d like. Use our library for the main networks, or upload your own icons.
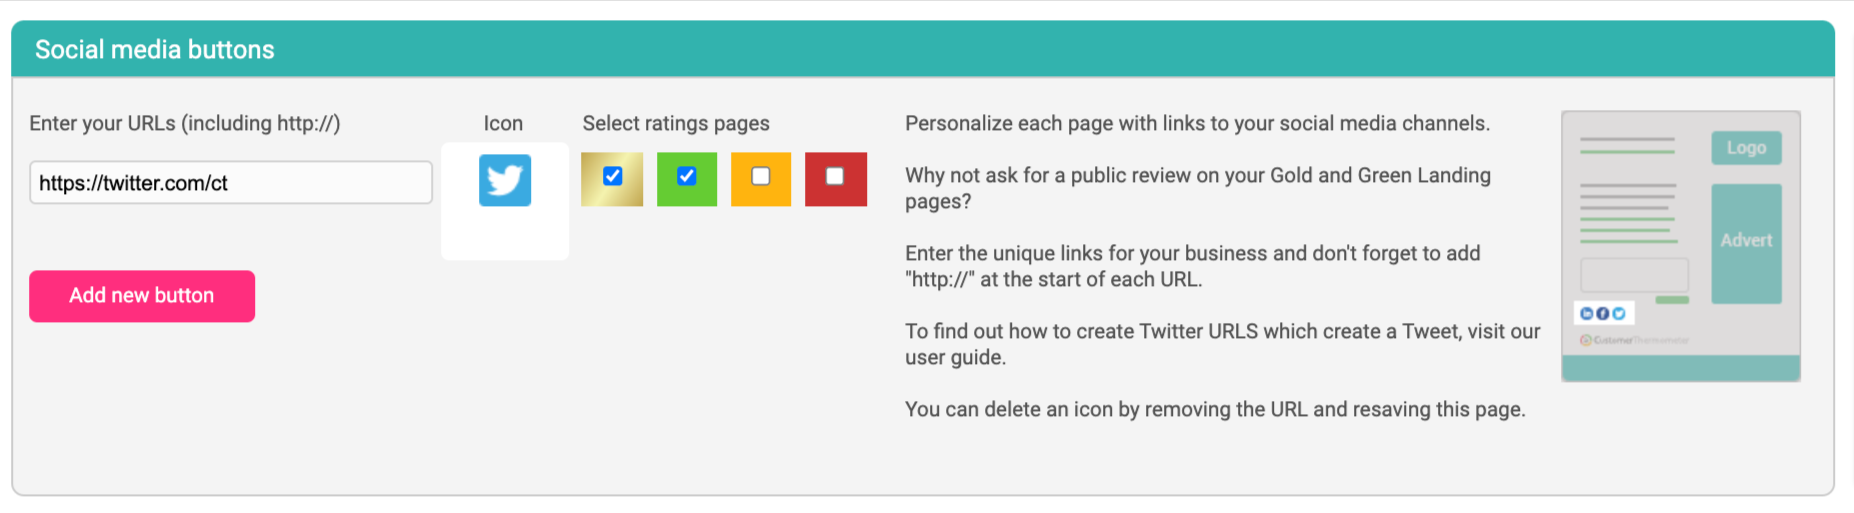
To add a link that causes Twitter to share a specific URL, use the following link:
To add a link that causes Twitter to share a specific piece of text, use the following link:
https://twitter.com/share?url=http://ADD-URL-HERE
To add a link that causes Twitter to share a specific piece of text, use the following link:
https://twitter.com/intent/tweet?text=Add%20your%20text%20here
Logo upload
Upload a logo from your device. We suggest it’s around 300px wide x 100px tall. JPG, GIF and PNG files only.
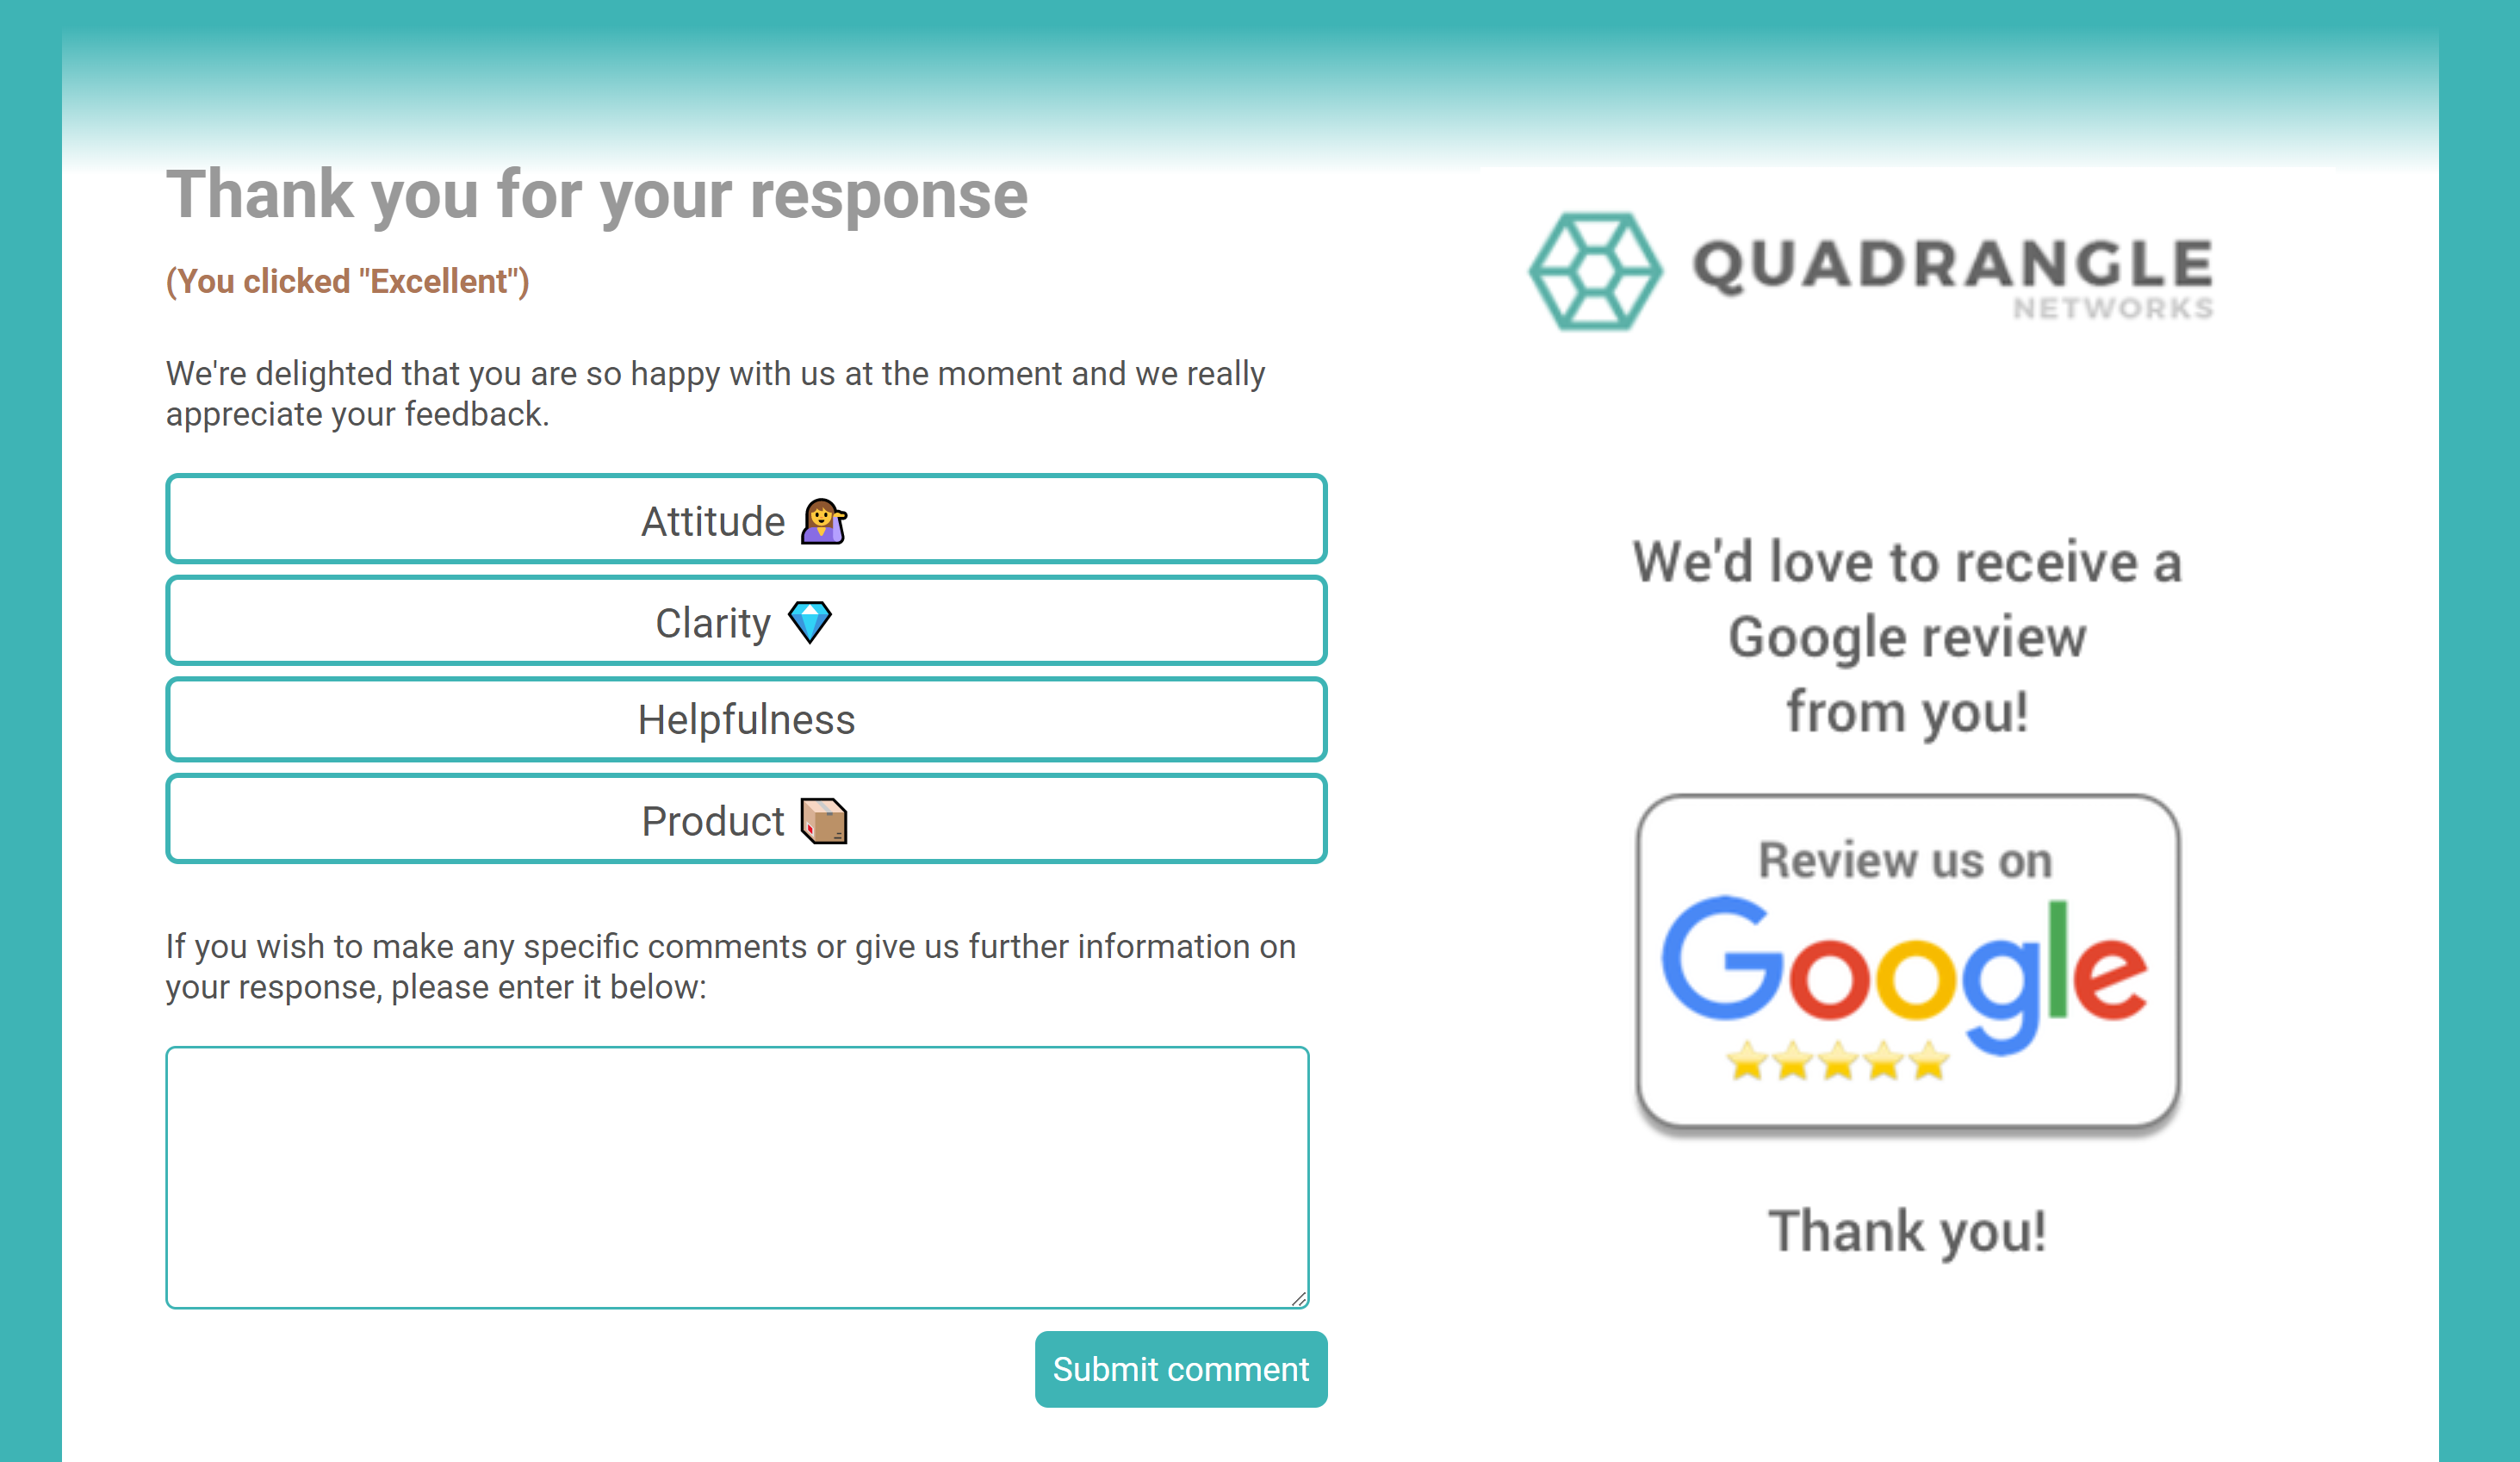
Advert Images
Adverts can be placed on each Thank you page as required. You may want a single image on all pages, a different one on each page or none at all. Be mindful of the rating being left.
You can upload an image (suggested 350px wide x 500px tall) and attach a hyperlink to each one.
Note: all images will be uploaded when you next save the page.
Below is an example of a Google Review advert image link-through.
Footer image
Choose a footer image. It will be uploaded when you next save the page. If you don’t upload an image, a default one will appear.
We suggest using a footer that is 920px wide, and a maximum of 100px tall. JPG, GIF and PNG files only.
Choose a background colour
Use the colour picker OR if you have a corporate HEX code, paste it into the box. Ensure there’s a ‘#’ before the number. You’ll see the colour immediately appear.
This colour is consistent across all Landing pages. The default is a grey colour.
Then you're ready to go!