Creating Thank you pages - Embedded Thermometers
Thank you page
It’s time to get those Thank you pages looking beautiful! The thank you page is what the recipient will see after a rating has been selected. It gives the recipient the opportunity to leave additional feedback on their initial rating and also confirms the response has been submitted.
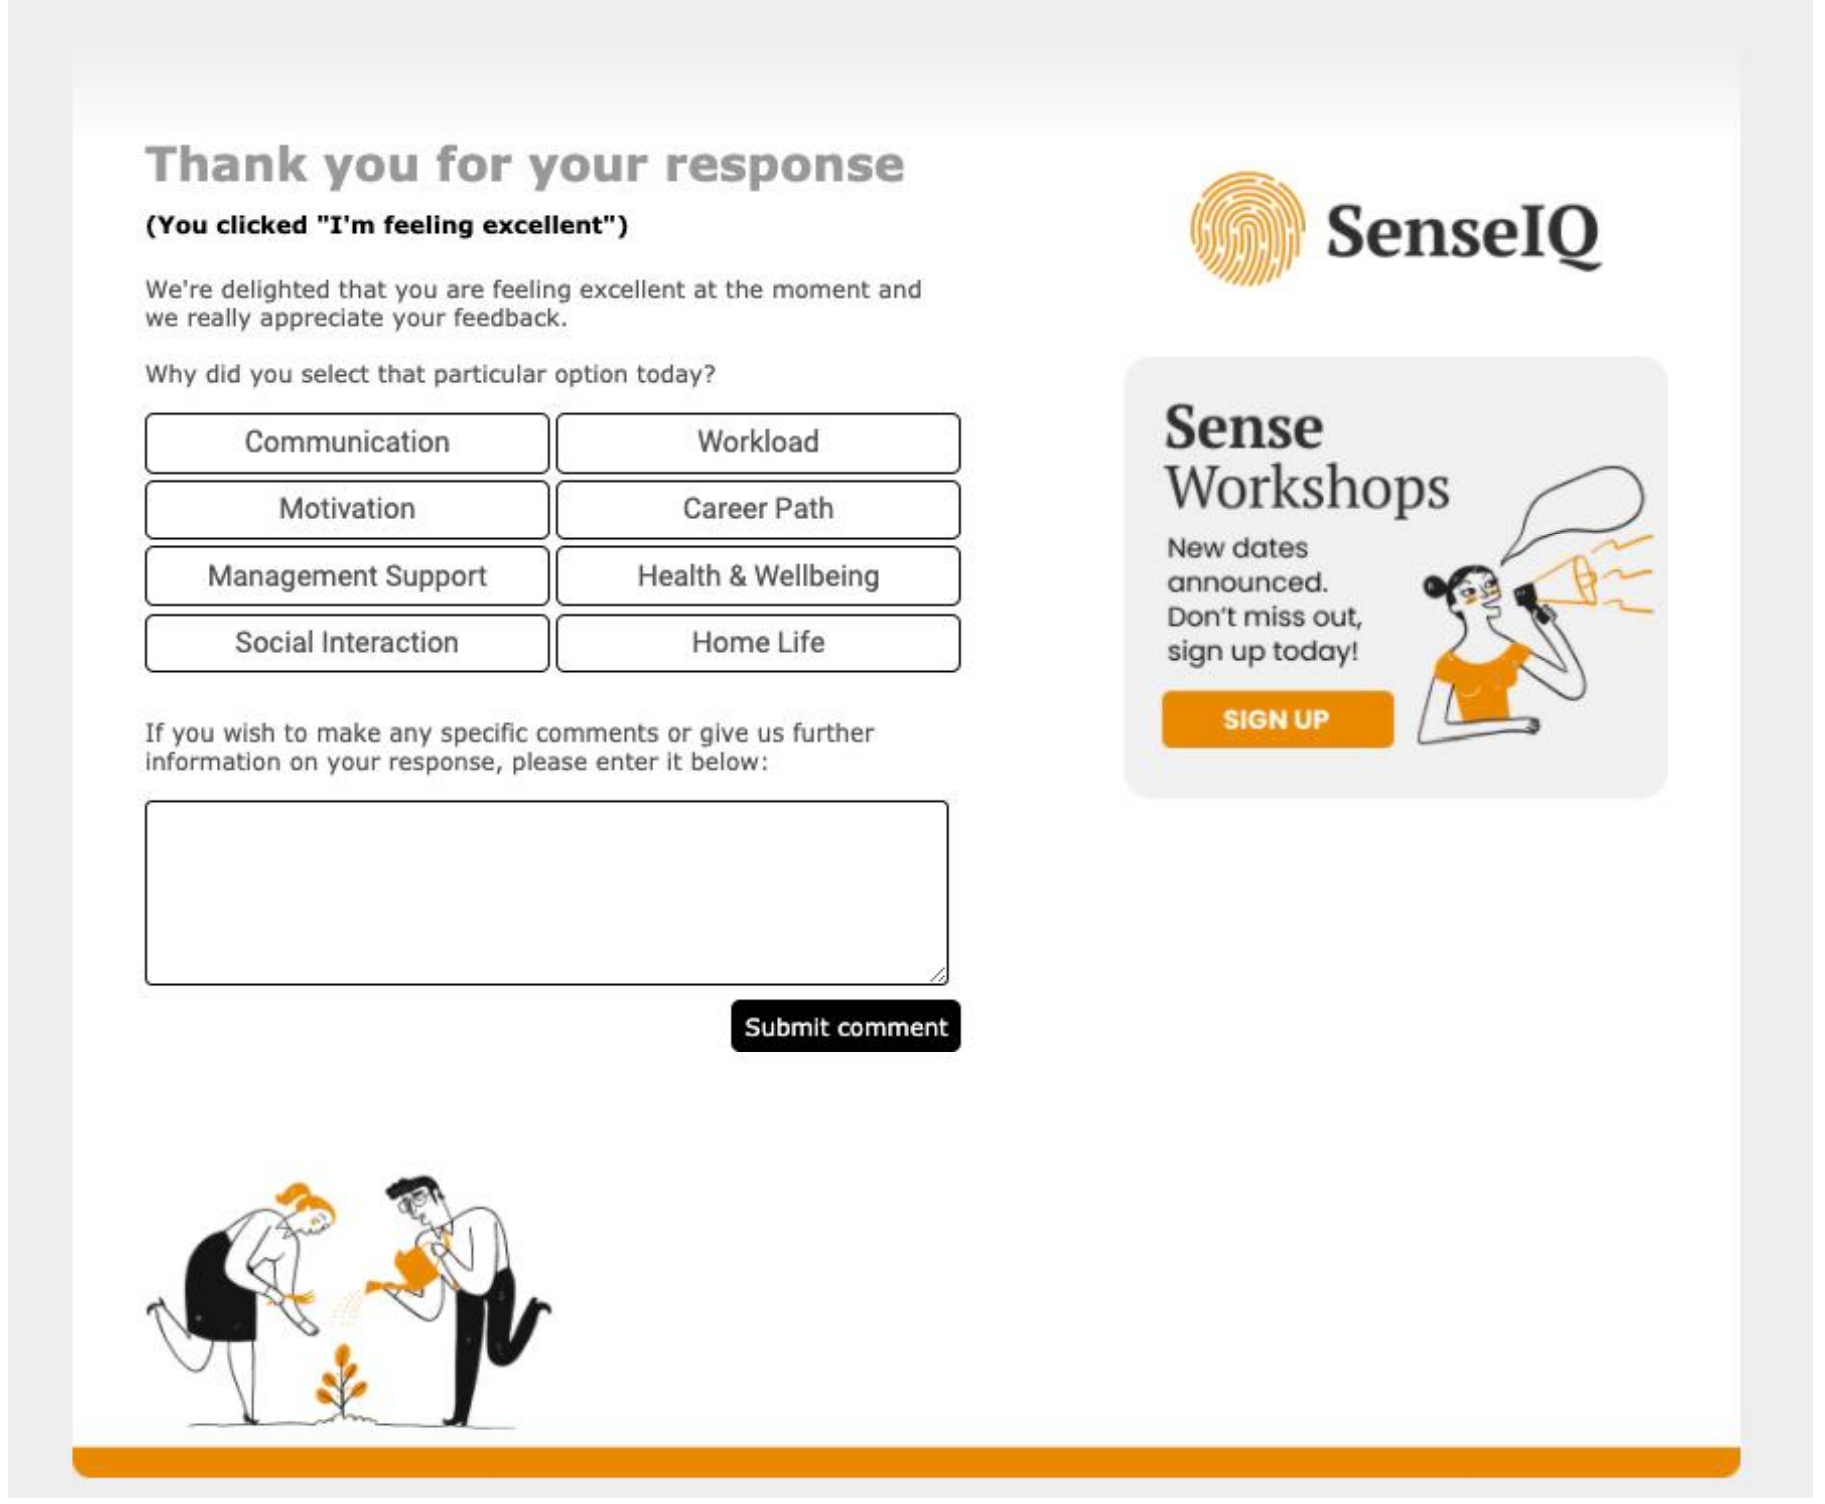
As you edit your thank you pages you'll have the opportunity to see live previews by using the preview panel on the right-hand side of the builder. This will mirror the changes being made in real time.
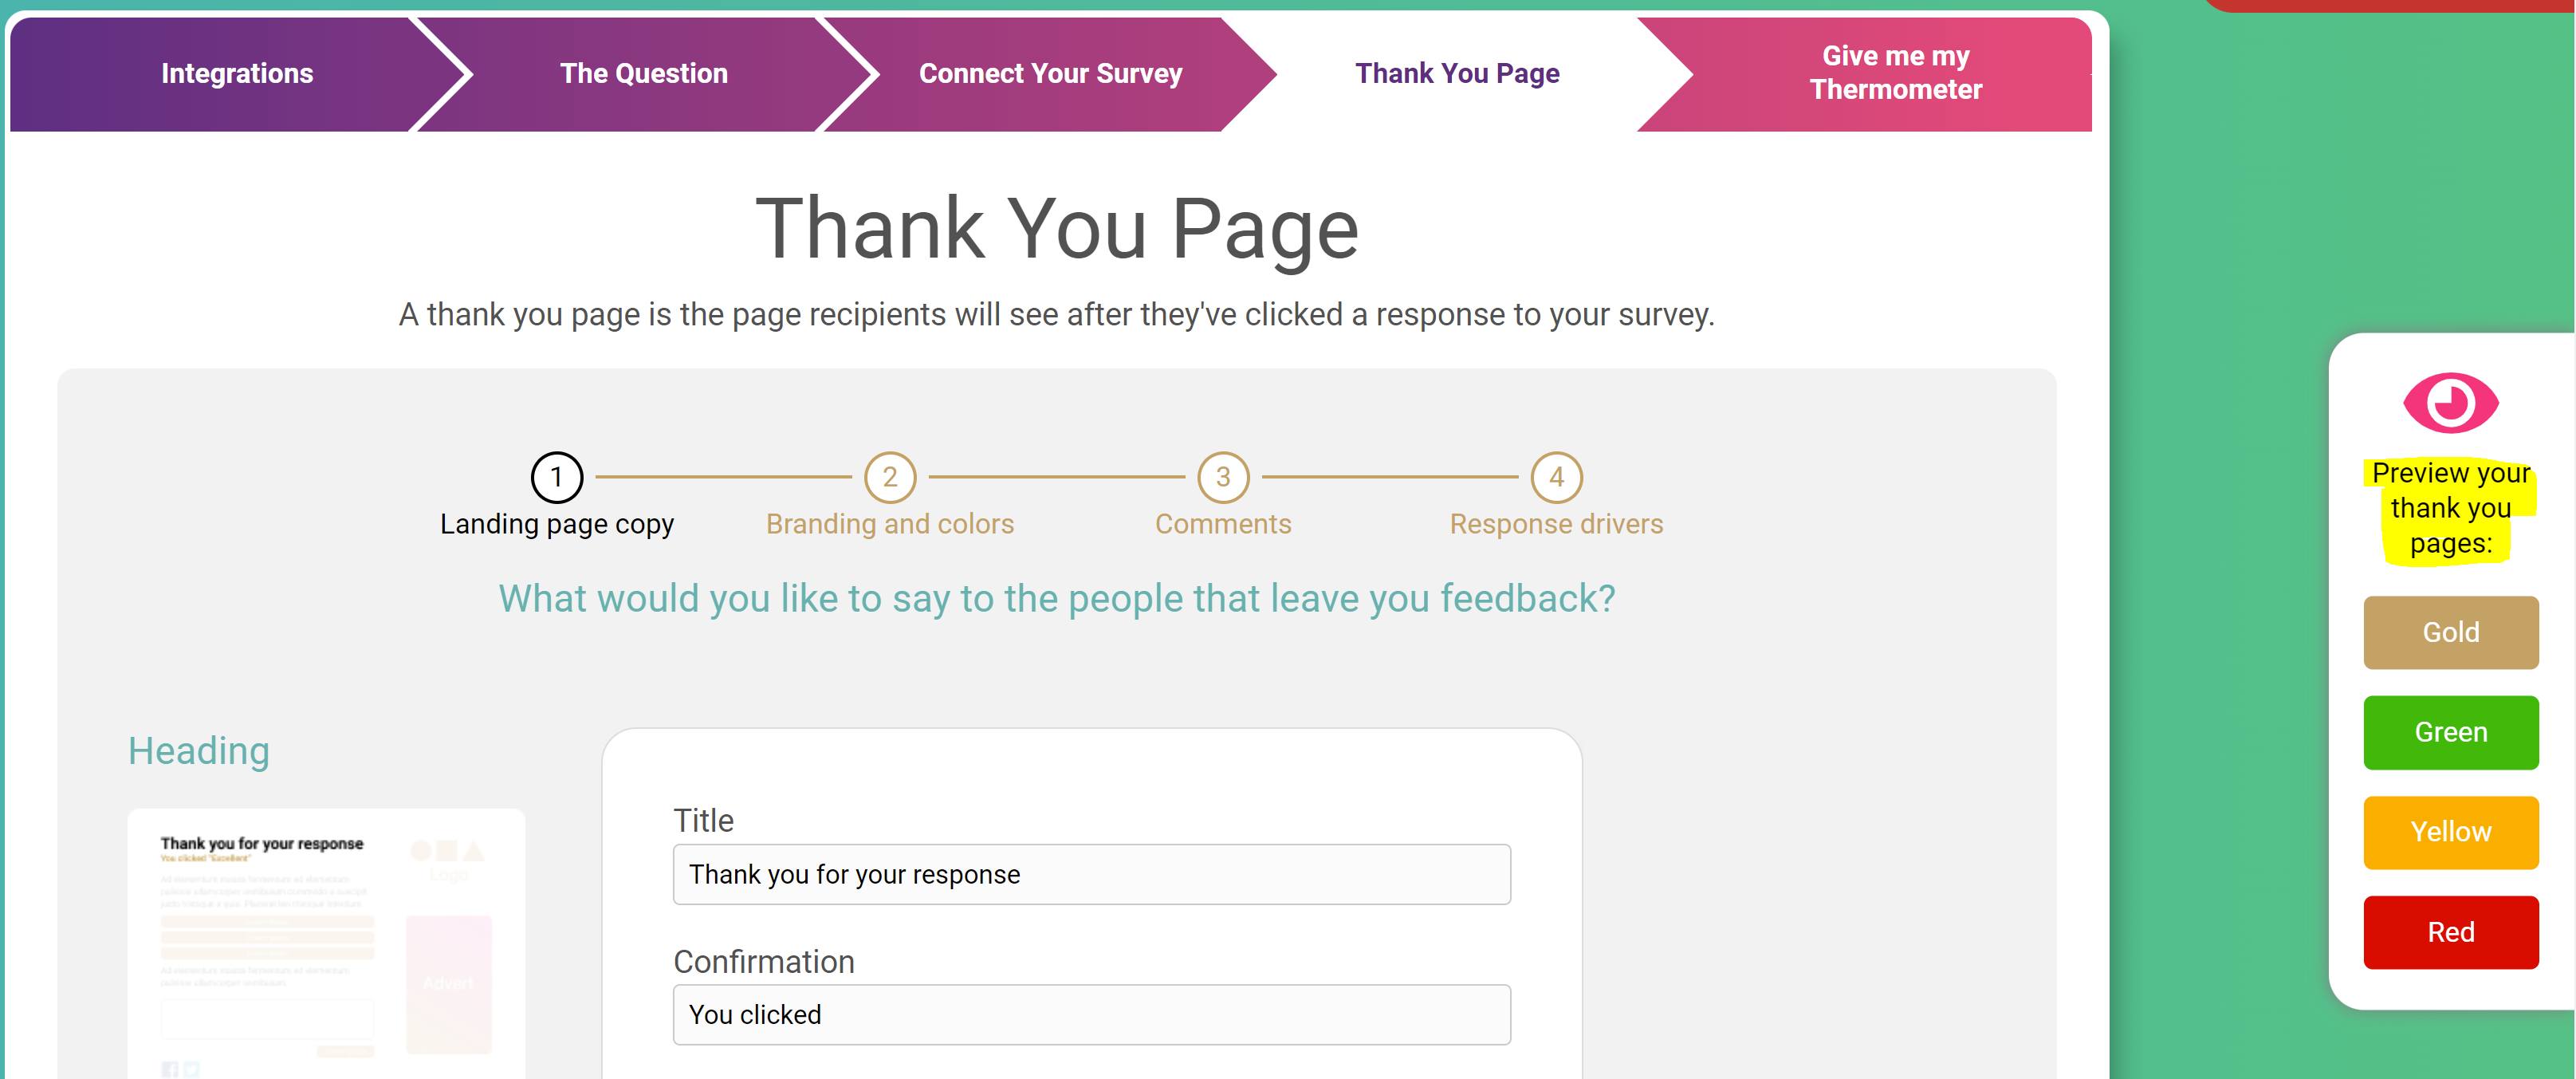
See below for a step-by-step walkthrough:
Recipient Opt-In
You also have the choice to add a tick box on your Thank you page.

You may want to use this whilst surveying colleagues to ask if they'd like to be contacted with regards to their feedback for example.
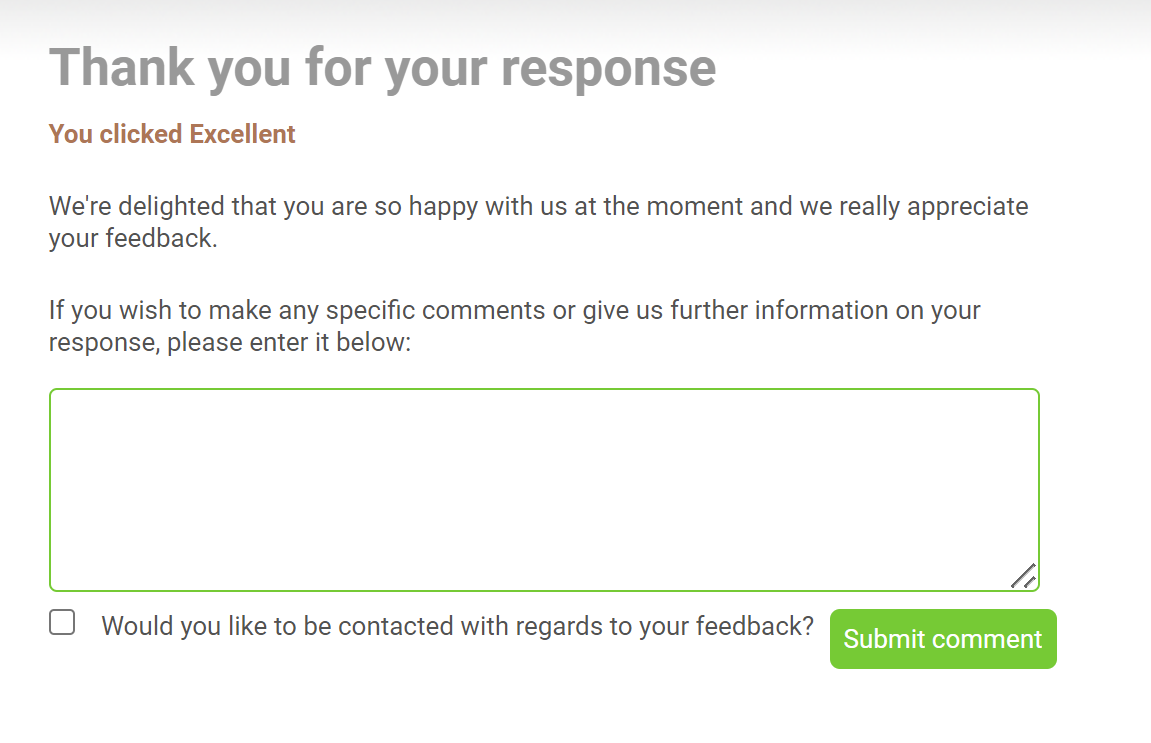
If the box is ticked you'll be able to see this in your data export or if using the API getBlastsResults call.
If you do not wish to use the tick box simply leave the text box blank.
Drivers
Response Drivers give you that extra piece of insight as to why a recipient has clicked on a certain icon. They allow you to really pinpoint the areas which need improving or rewarding within your business by classifying those essential pieces of feedback.
You can add up to 8 Drivers for your respondents to choose from and tailor these depending on the rating given.
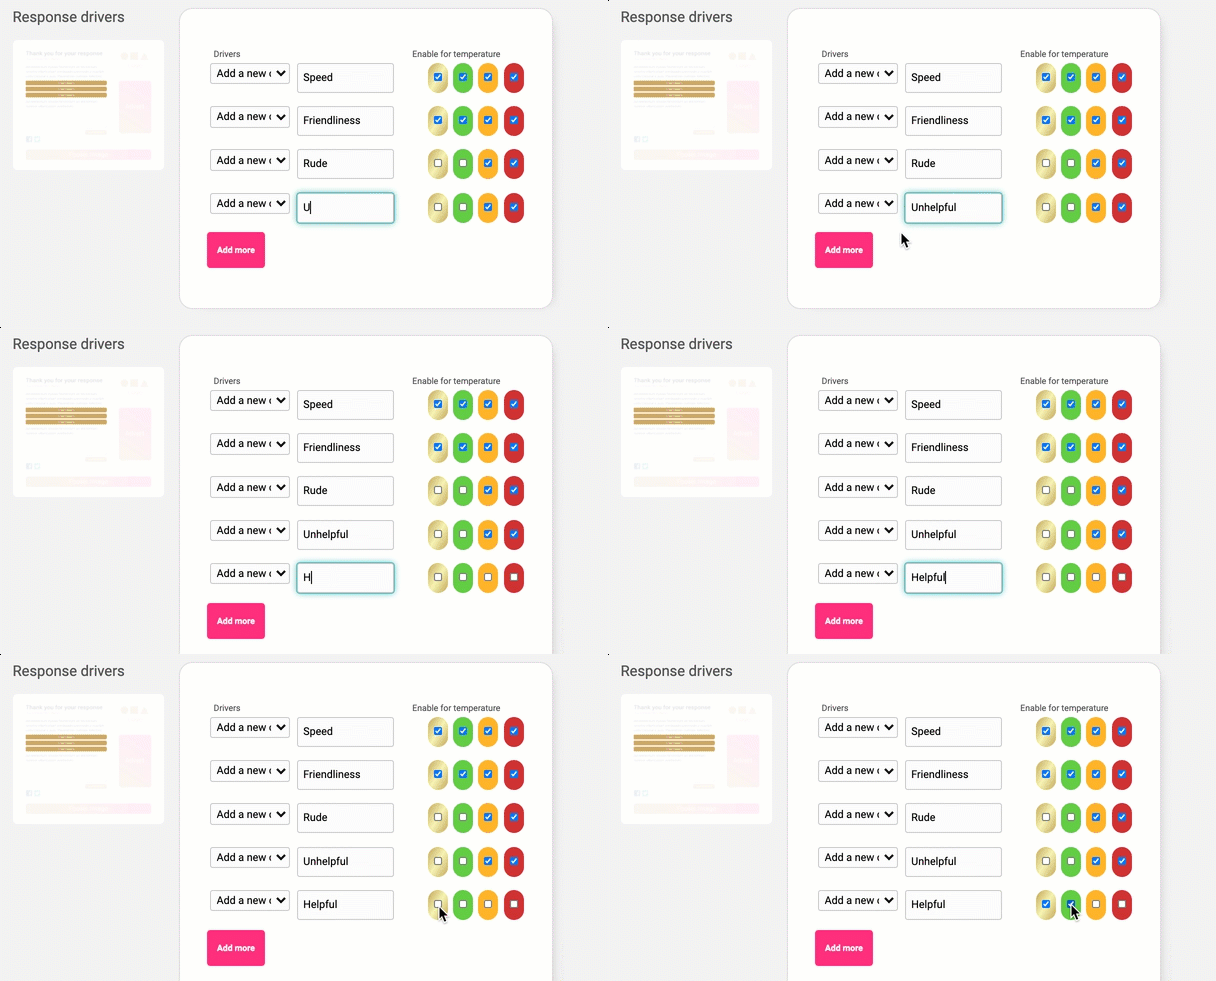
An example set of Drivers on a Thank you page:
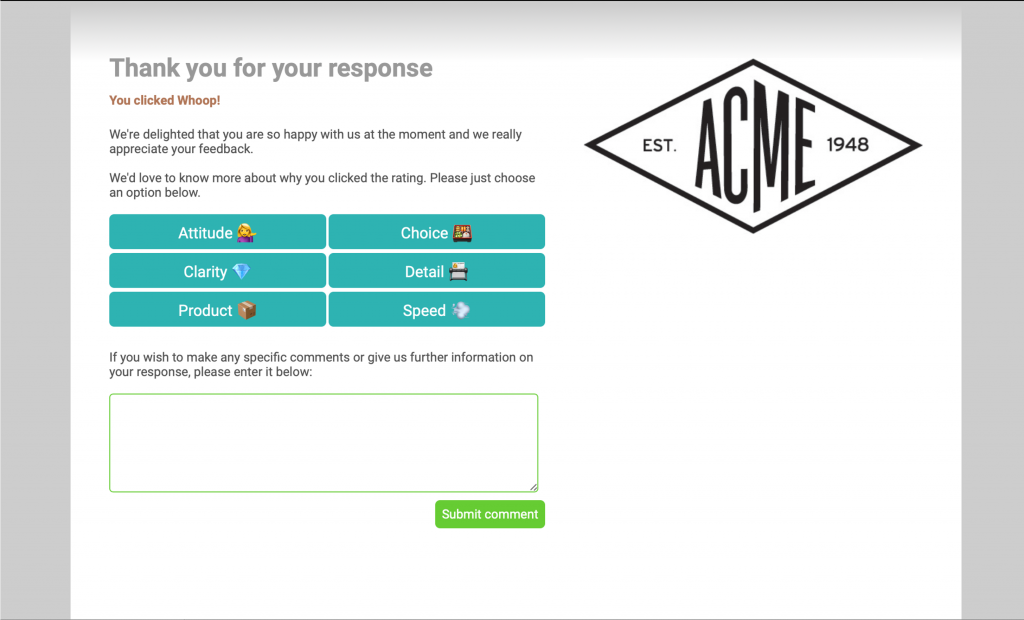
You can also choose what colours you’d like your buttons to be so you can tailor them to your branding.

These are of course optional so you can leave this section blank if you wish.
When you’re ready hit the ‘Give me my Thermometer' button… CONGRATULATIONS! Your survey is ready to go!
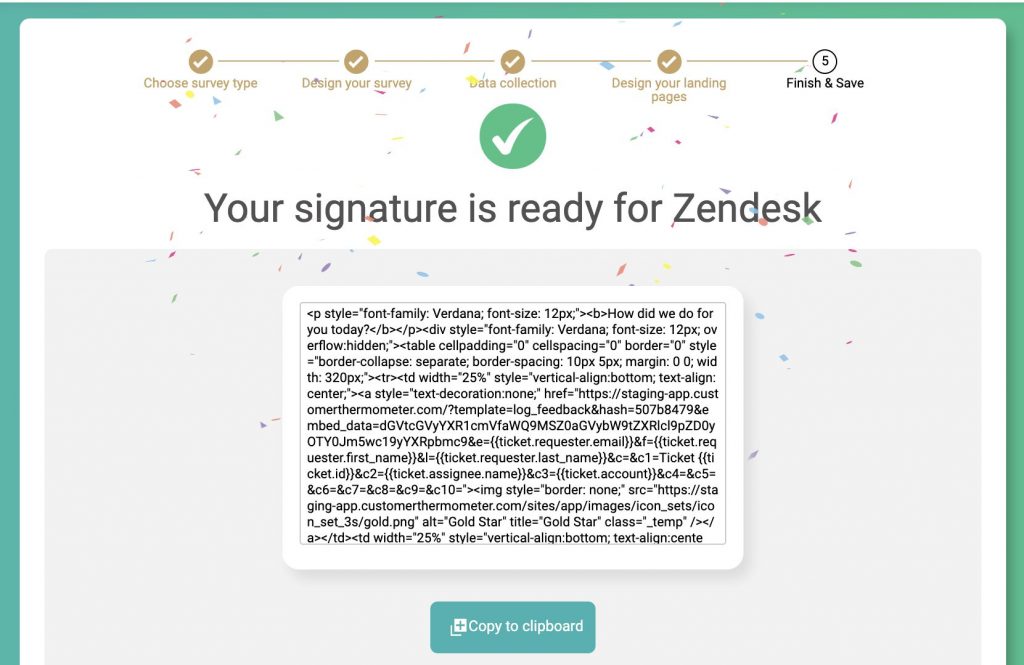
You can then either copy the survey or survey HTML straight out of Customer Thermometer and embed it into the system of your choice.