Thermometer Builder – Creating a new Thermometer
We’re so excited to get you up and running with your new Thermometer! Follow our easy steps below to get you on your way to sending some amazing surveys!
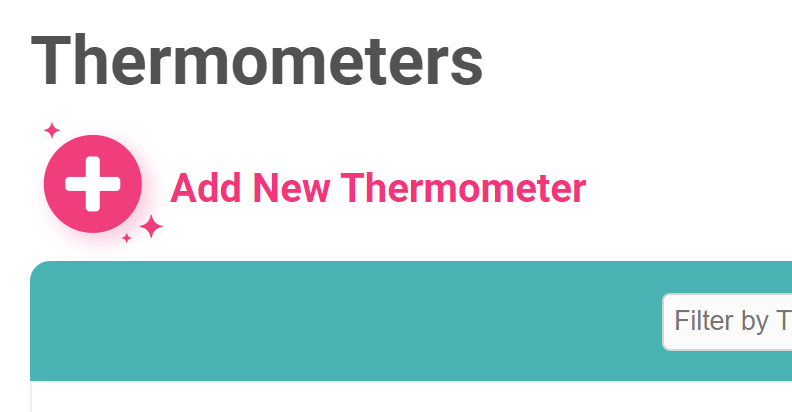
To get started you’ll first need to navigate to ‘Thermometers’ within your account > ‘Add New Thermometer’.
You’ll then need to choose how you would like to send your survey from the options provided, then select your integration either by using the filter or using the blue arrow to browse.
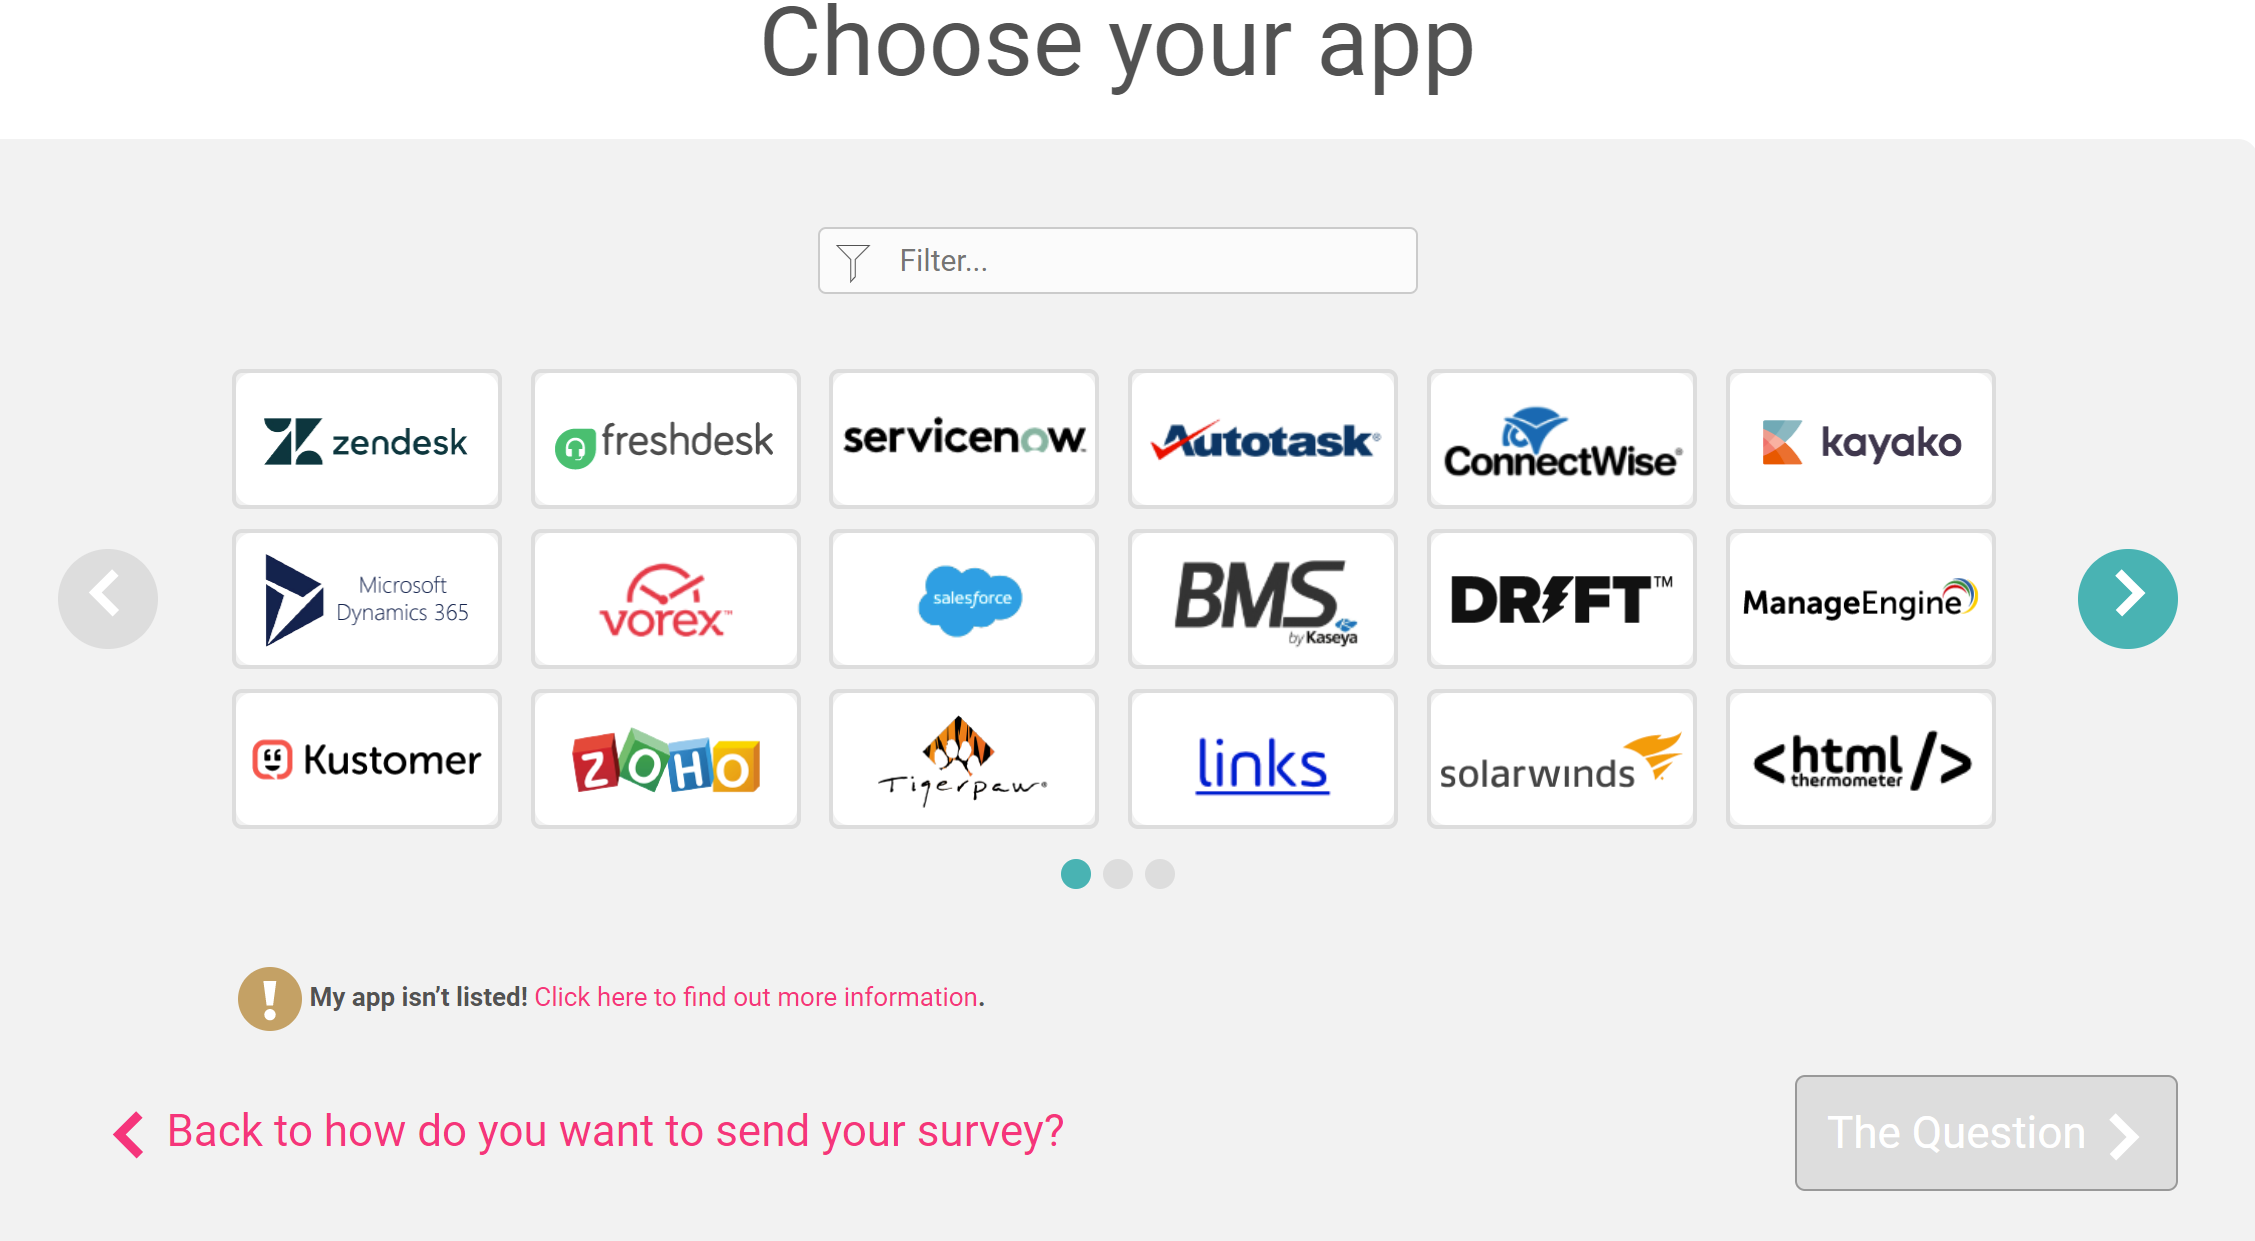
Don’t worry if you don’t see your integration – we have a universal method you can choose which will produce your survey in both basic links and icons as well as basic HTML. Just look out for the cog icon:
The Question
This section of the builder is where you can choose the design of your survey including naming your Thermometer, adding your question and selecting your survey icons or uploading your own bespoke icons. The below video will demo all the customisation which can be achieved in this section.
Top Tip! Don’t forget to use the preview tab to review your design changes.
You can skip through sections of the builder if you wish or go back and forth by clicking the sections in the top panel:

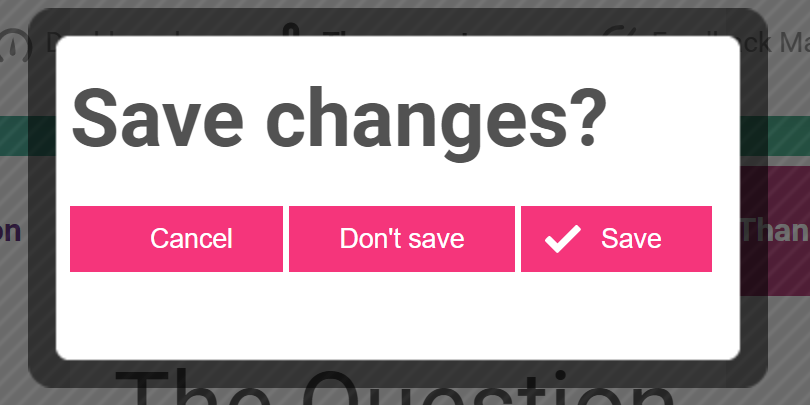
Your Thermometer will save automatically at Give me my Thermometer or you can click Dashboard, Thermometers or Reporting options to exit in the white bar and the below options will appear:
Connect your survey
In order for identifiable data about your recipients and senders to display within your reporting area, you first need to capture it. This would be done at the point that the email is sent, by including merge fields/variables from your system that you are sending the survey from within the Thermometer code.
The below will talk you through this section and how best to use it to your advantage.
If you are sending from your survey from Gmail or Outlook or if you do not have variables/merge fields available from the system you are sending from do not fear! Simply click here.
Response options
In your Connect your survey area, you have additional response options. Here you can choose whether to enable a lockout and set your email alert notifications. Please note the lockout tool is not available for Gmail and Outlook Thermometers.
You can set up instant email alerts to be sent to internal recipients of your choice and you can choose to have them sent to different individuals depending on which colour response was clicked. Use the slider to enable or disable the alert and the text box to enter either a single or multiple email addresses.
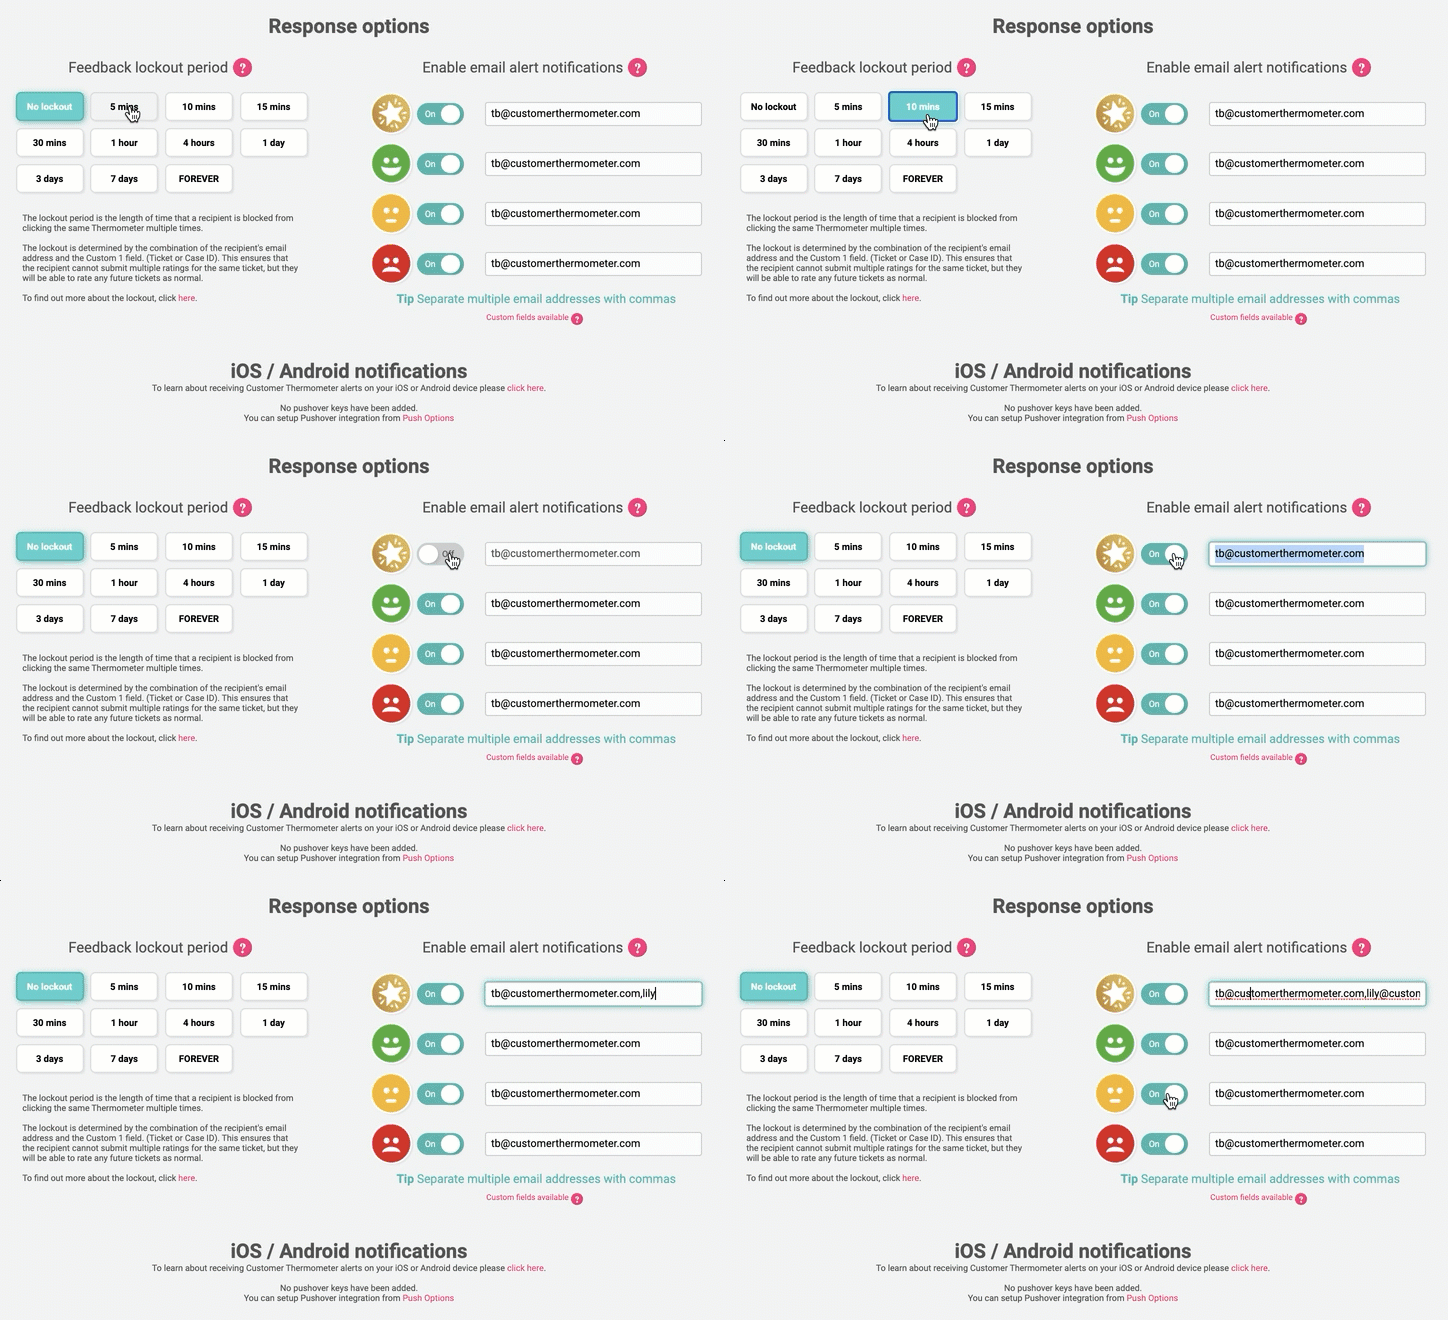
Separate multiple email addresses with commas.
Thank you page
It’s time to get those Thank you pages looking beautiful!
See below for a step by step walkthrough:
Recipient Opt-In
You also have the choice to add a tick box on your Thank you page.

You may want to use this whilst surveying colleagues to ask if they'd like to be contacted with regards to their feedback for example.
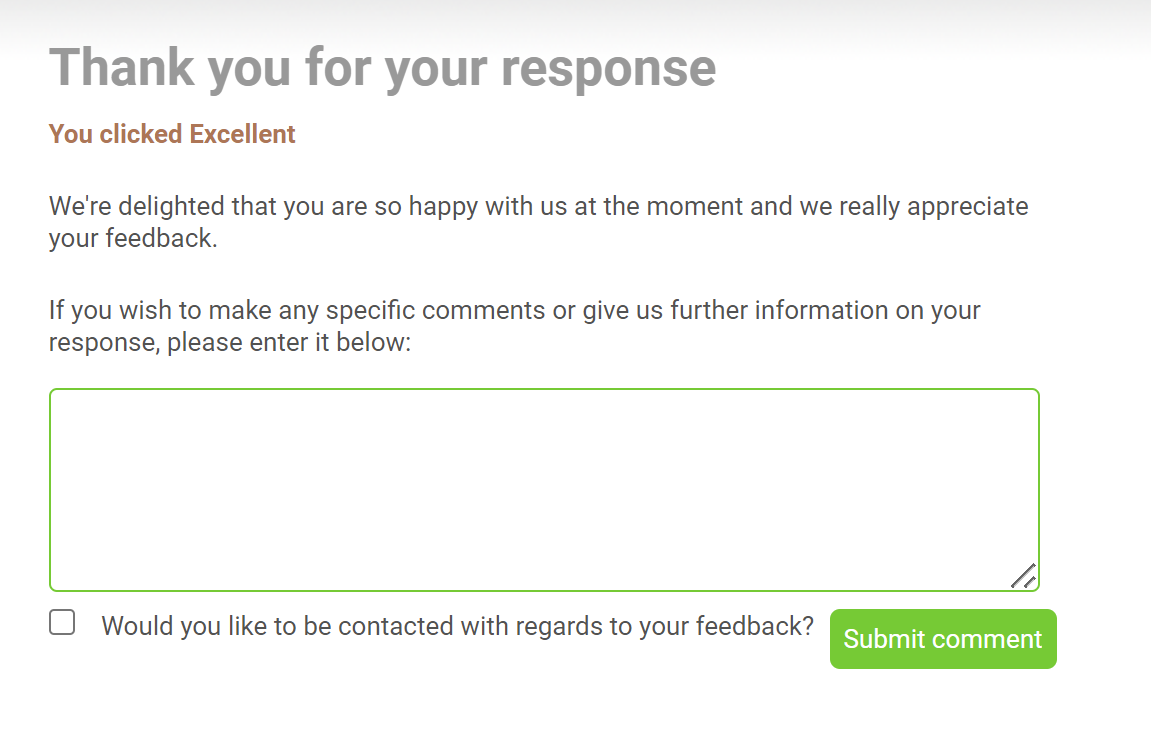
If the box is ticked you'll be able to see this in your data export or if using the API getBlasts call.
If you do not wish to use the tick box simply leave the text box blank.
Drivers
Response Drivers give you that extra piece of insight as to why a recipient has clicked on a certain icon. They allow you to really pinpoint the areas which need improving or rewarding within your business by classifying those essential pieces of feedback.
You can add up to 8 Drivers for your respondents to choose from and tailor these depending on the rating given.
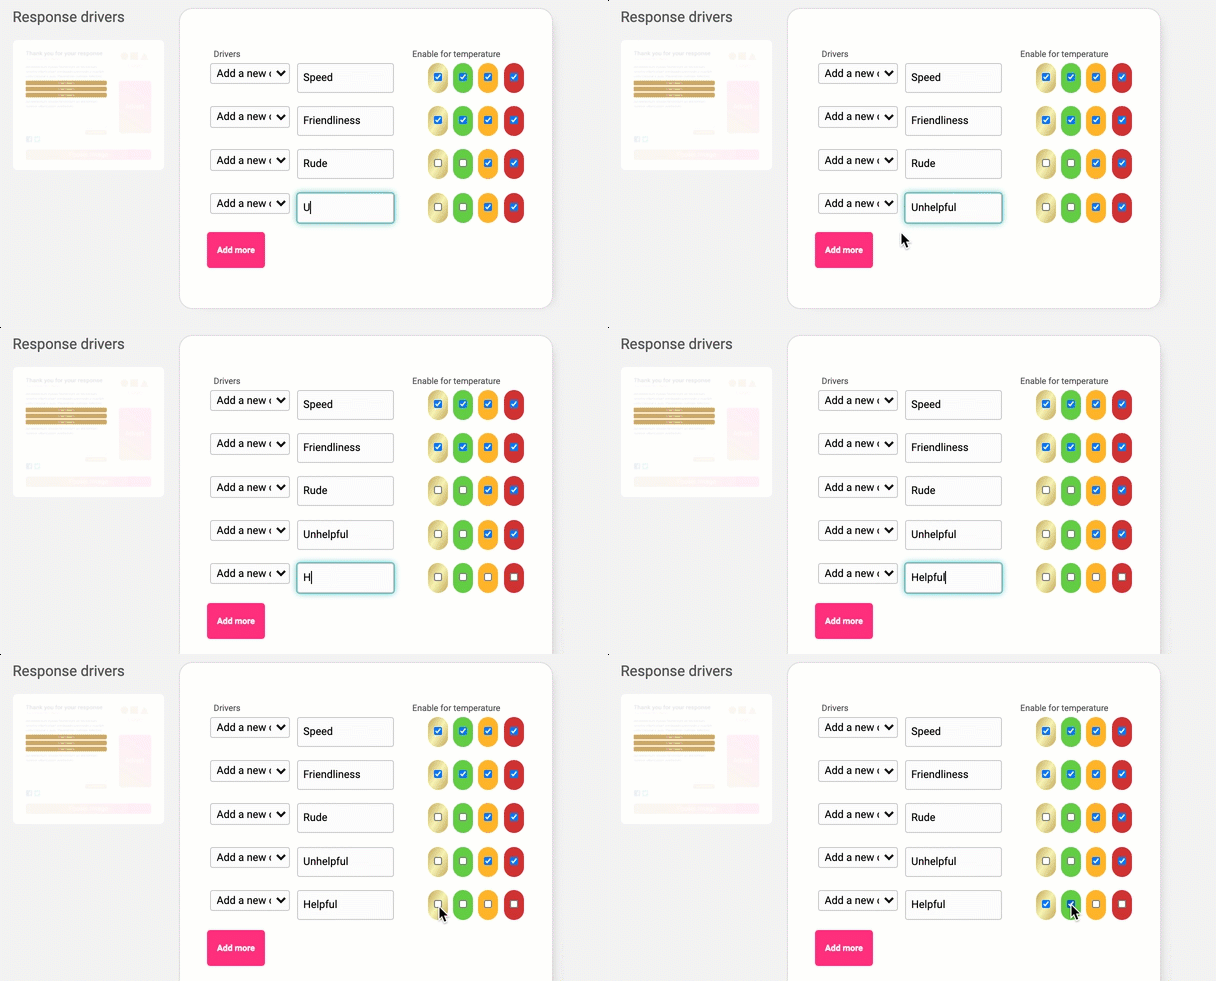
An example set of Drivers on a Thank you page:
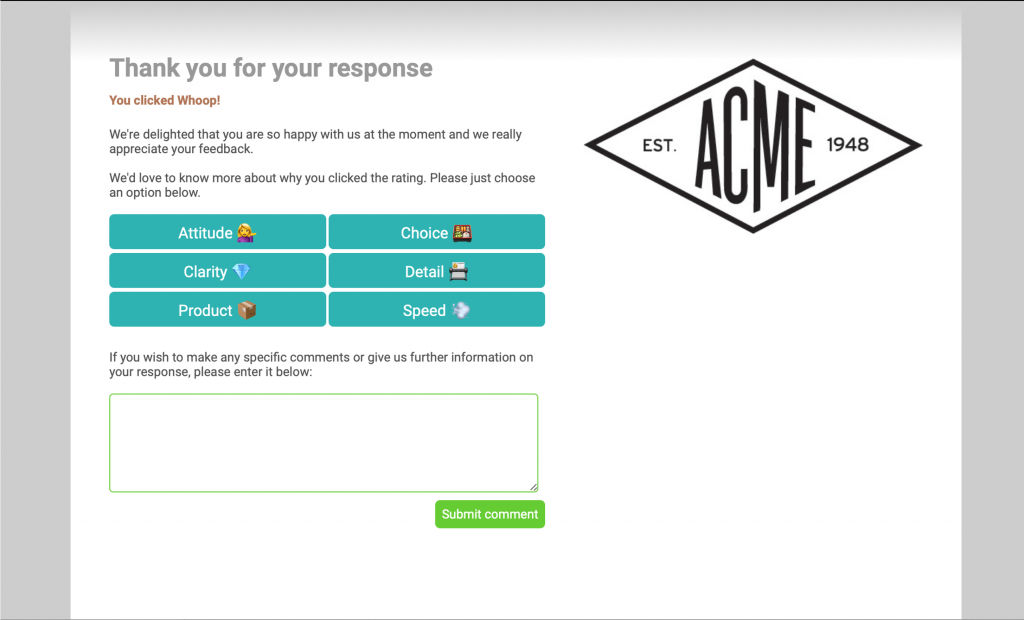
You can also choose what colours you’d like your buttons to be so you can tailor them to your branding.

These are of course optional so you can leave this section blank if you wish.
When you’re ready hit the ‘Give me my Thermometer' button… CONGRATULATIONS! Your survey is ready to go!
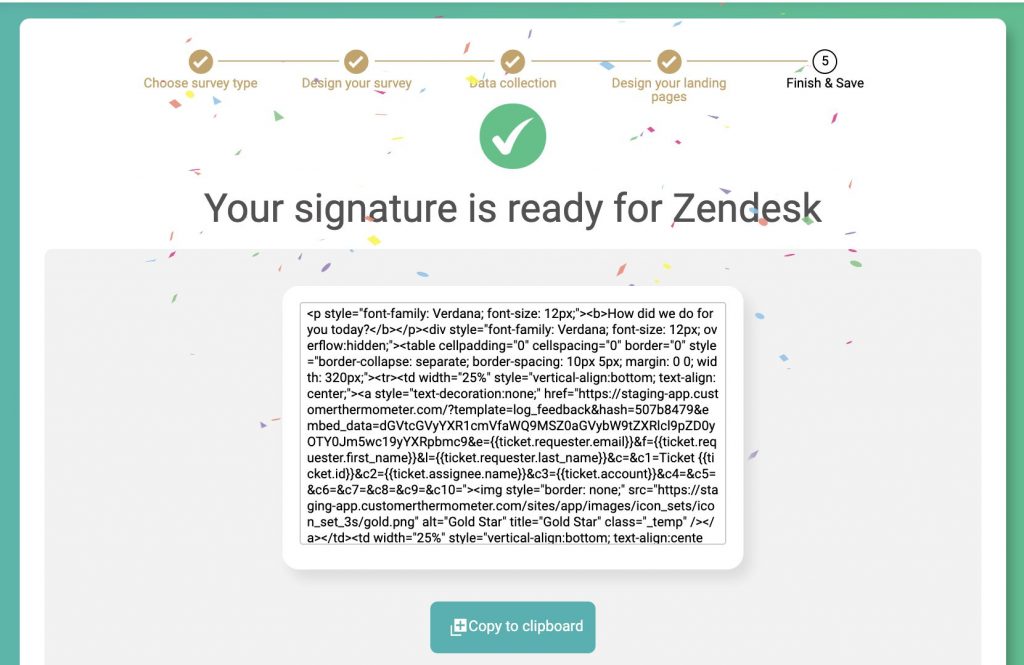
You can then either copy the survey or survey HTML straight out of Customer Thermometer and embed it into the system of your choice.