Managing contacts and lists
What is a List?
Once your Email Thermometer template has been created, you will need to create a List. A List is a set of contacts to send the Email Thermometer to. Each contact must contain an email address as a minimum, but could also contain additional data, such as first name, last name and another 10 custom fields.
This might be a List of your regular customers, your key accounts, or all of the customers who bought something from you that week. Some of our users send Blasts on a customer-by-customer basis. Some send Blasts to their entire customer base.
You can type your List in by hand, or upload a List directly into the app via a CSV.
Creating and editing Lists
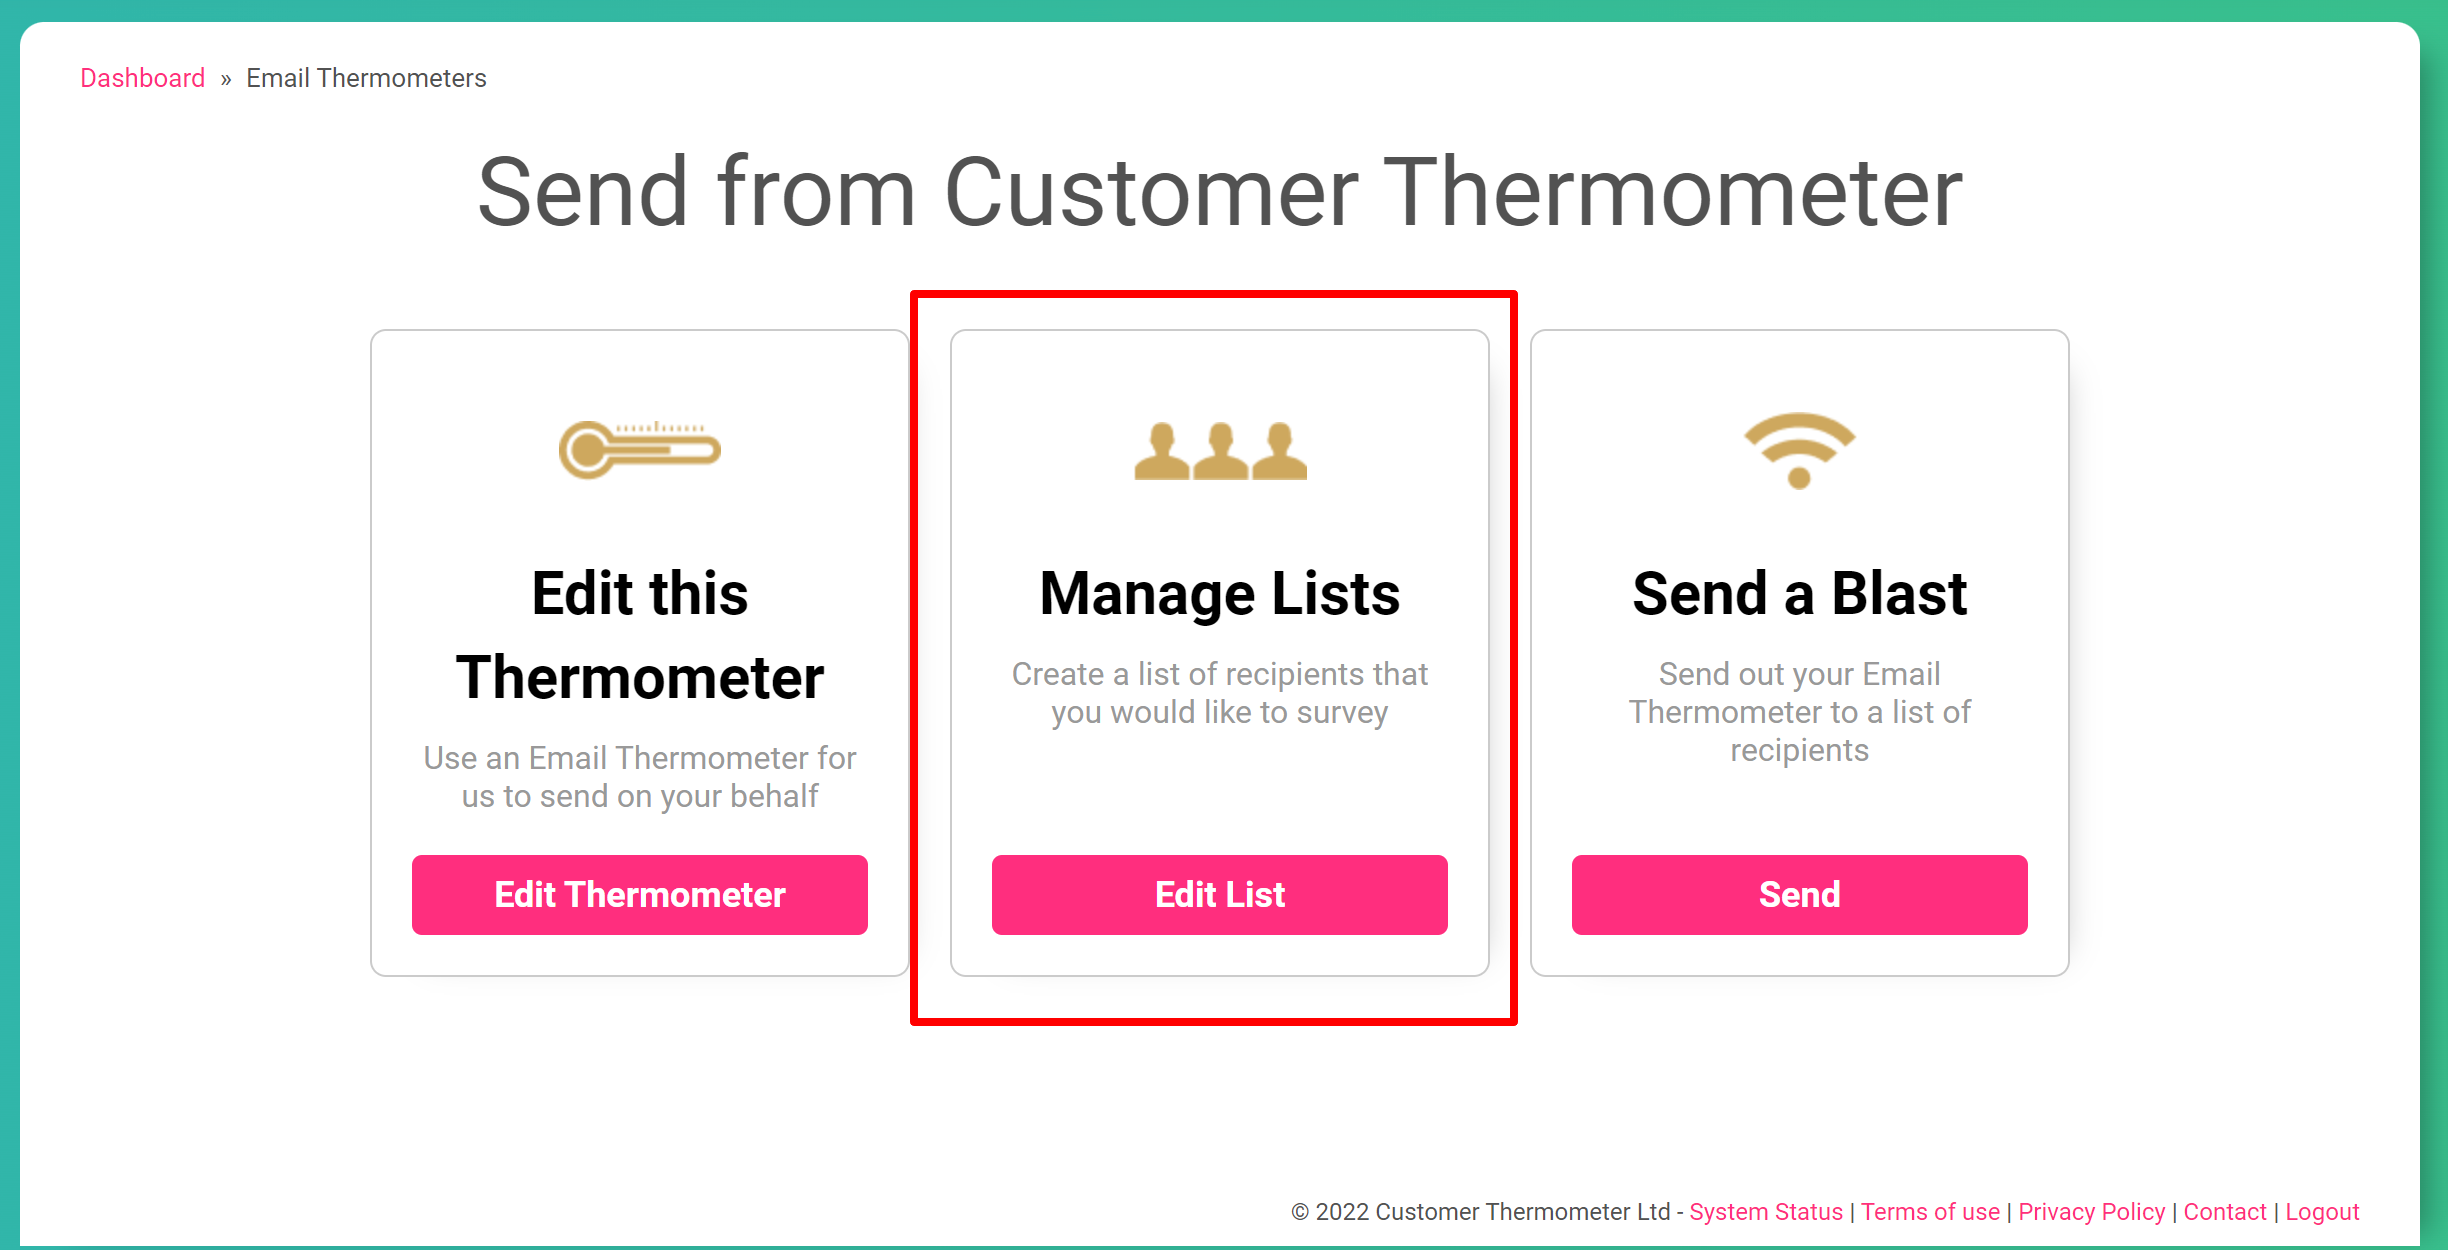
Click on your Email Thermometer within the Thermometers section and you'll be presented with three options, please select the Manage Lists option.

You can upload, create and save as many Lists as you wish so that you can use them at any time. There’s a description of the fields in the List screen below:
Give your List a name
Please name your list so it’s identifiable to you within Customer Thermometer, none of your recipients will see the list name. Please note you cannot name multiple Lists the same name, each must be unique.
The next step is adding your list which can be completed in two ways either manually by copying and pasting or by uploading a CSV file. Both options are shown below.
Adding a List of recipients manually
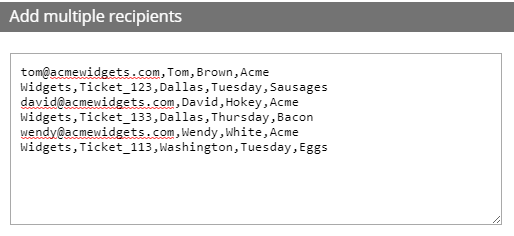
For small Lists, it’s a simple task to key in or paste in data into the “Add multiple recipients” box. Ensure you follow the instructions show. There’s example data below.

When you click “Save List”, the contact data will be processed and be available for further editing within the “Manage Recipients” tab.
Uploading a List via a CSV file
A CSV file is a comma-separated variable file. Excel can save as into this commonly used format. You will find an example template to download on the Create a List page.
In order for your contact data to upload correctly, you must ensure the column headings are in the same order and labelled exactly like the one showing in the template:

When your CSV has been created, browse for it via the last box on the page. Click “Save list” to upload it. Large Lists will be processed over the next few minutes. Smaller ones will be available immediately.
Once your list has been uploaded click ‘save’ at the bottom and a second tab will appear, “Manage Recipients”.
Managing and editing List recipients
Once contact data exists within your List, click on the “Manage Recipients” tab:

You’ll see your contact data listed underneath. You can sort the data by clicking on the arrows.
If you notice errors, you can amend the data by clicking into a cell, making an edit and then clicking away:

You can also add additional recipients manually to the List, by adding their details underneath. Click “Add Recipient when you’ve entered the data.
Merge and overwrite data that is currently held in your master list?
All of your contact data is held in a single master List. When you upload contacts to a new List, you can choose whether to overwrite and merge your new data with the data held in your master List OR use unique data for this List only.
As an example, you would choose “Yes” if contacts in your new List were duplicates, but their contact details had changed.
The master List is accessible via the link in help text to the right of this section.
In order to see your merged data, you will need to refresh the page, by clicking “Save List”.
Filtering on the Manage Lists tab
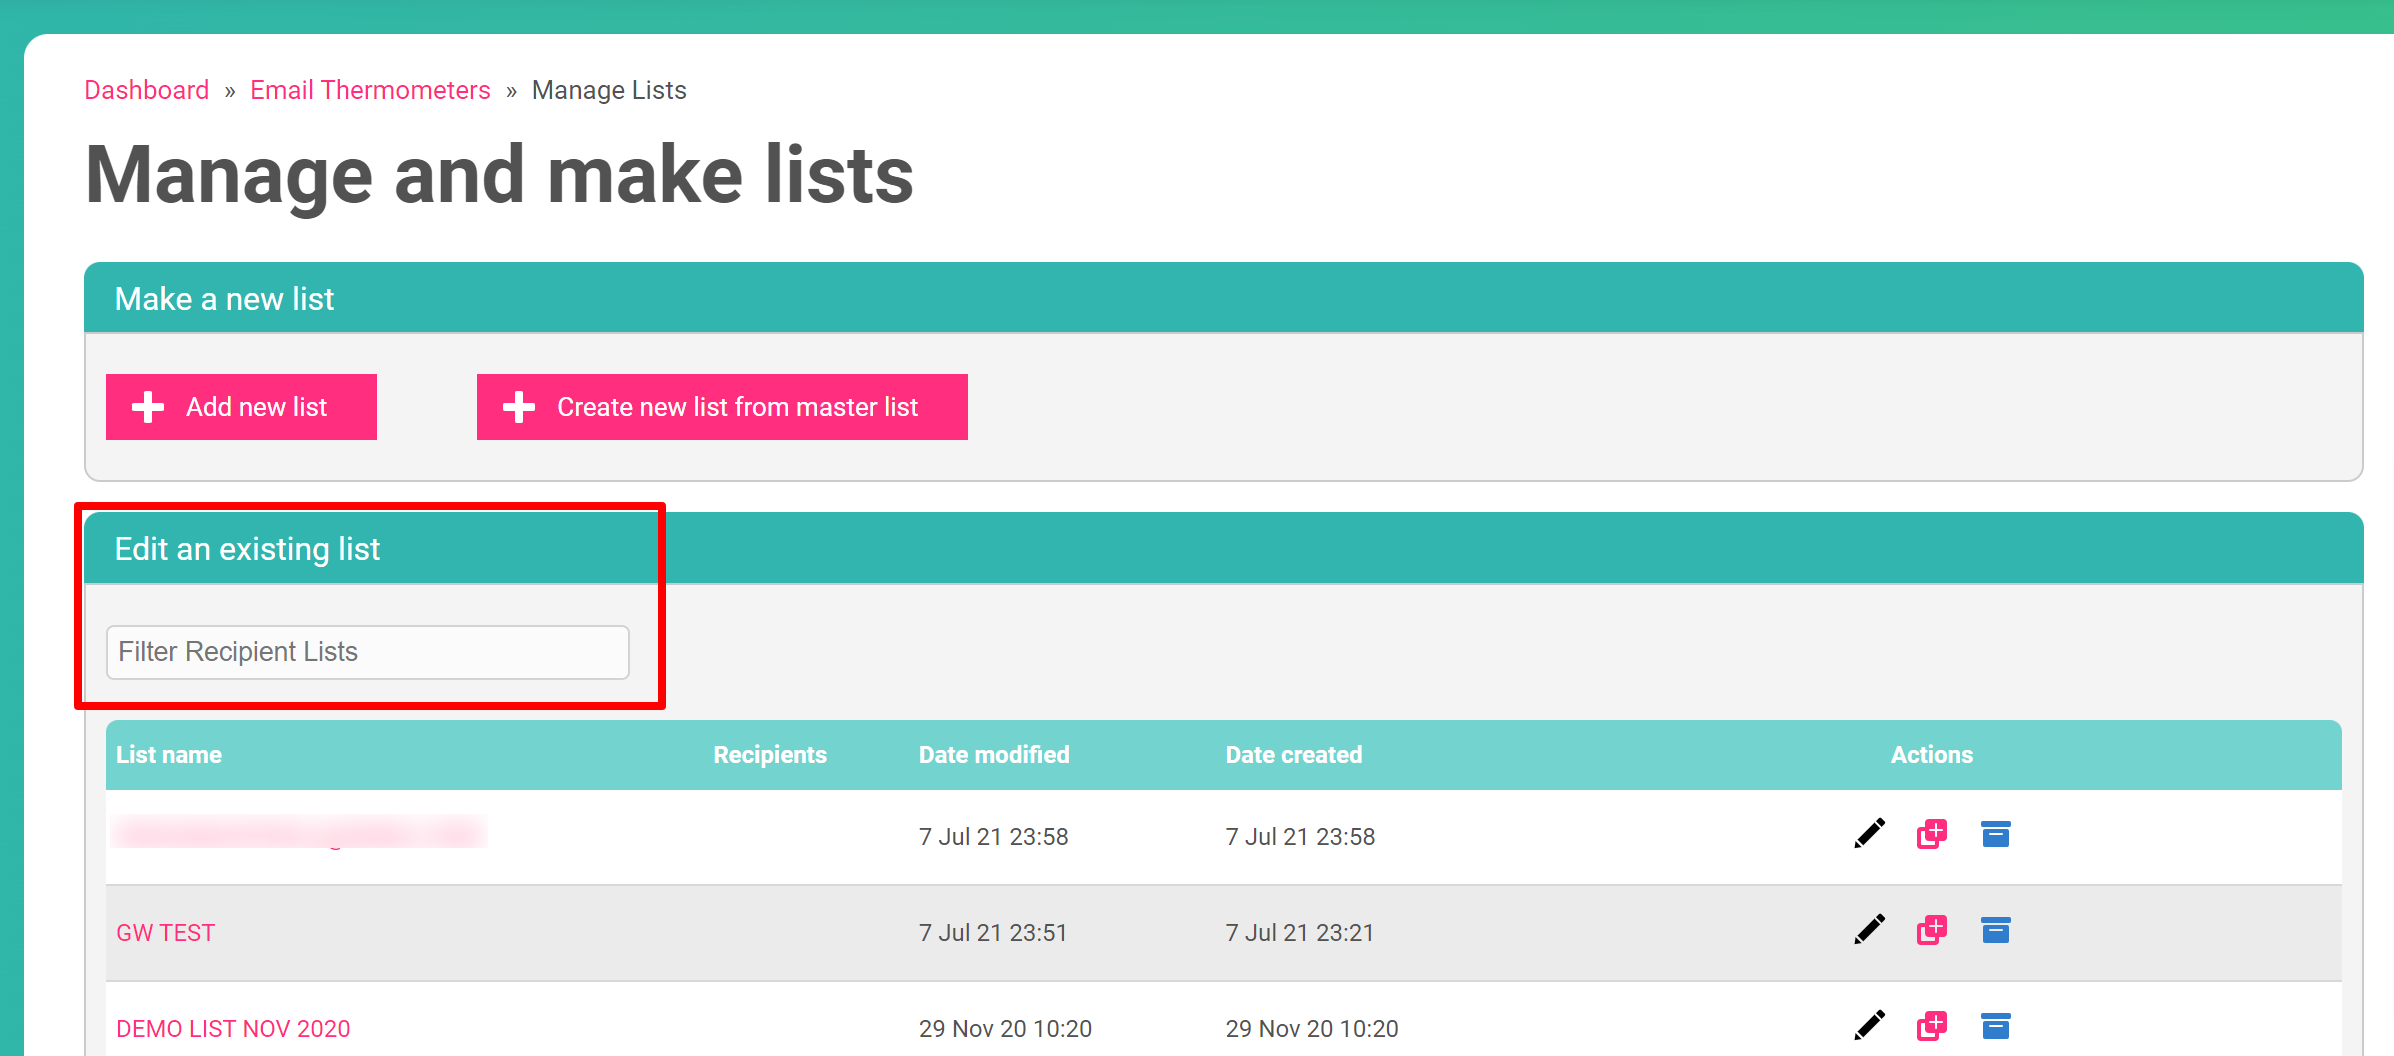
You can search for lists you have previously uploaded using the search bar in the Manage Lists section. You’ll notice too that we’ve paginated this area, making it easier to view lists if you are holding lots of them:

Time to send your Blast
Once you’ve uploaded your List of contacts – click the “Send a Blast” button on the main menu. Then simply select your Thermometer template and your List.
You can send it out immediately, or time it for the future.