We’re so excited to get you up and running with your new Email Thermometer! Follow our easy steps below to get you on your way to sending some amazing surveys!
(What is an Email Thermometer?)
Let's get started!
Click 'Thermometers' > 'Add new Thermometer' > 'Send from Customer Thermometer'.
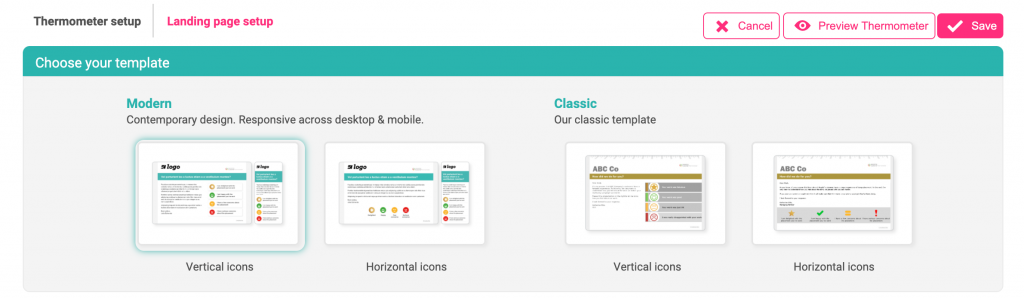
Choose your template
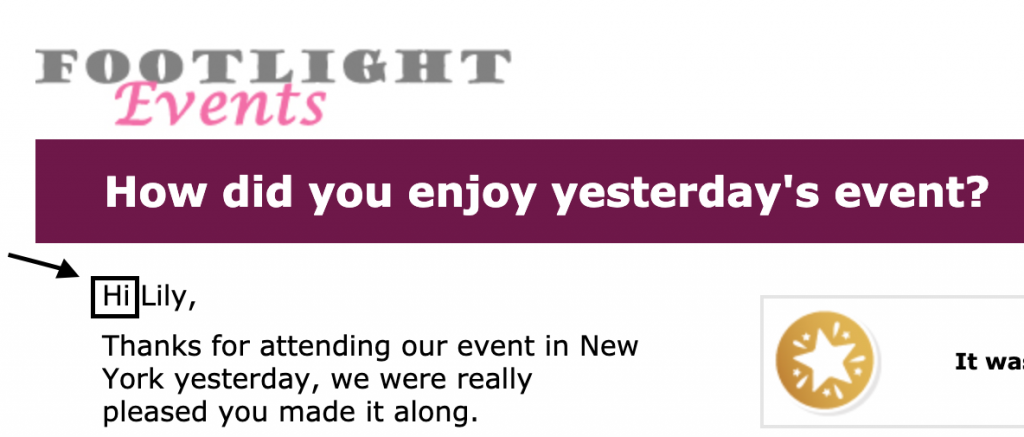
We have four templates for you to choose from:
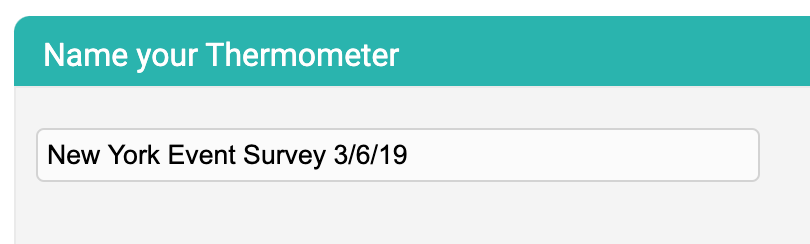
Name your Thermometer
Give your Thermometer a unique name to refer to – this is for internal use only.
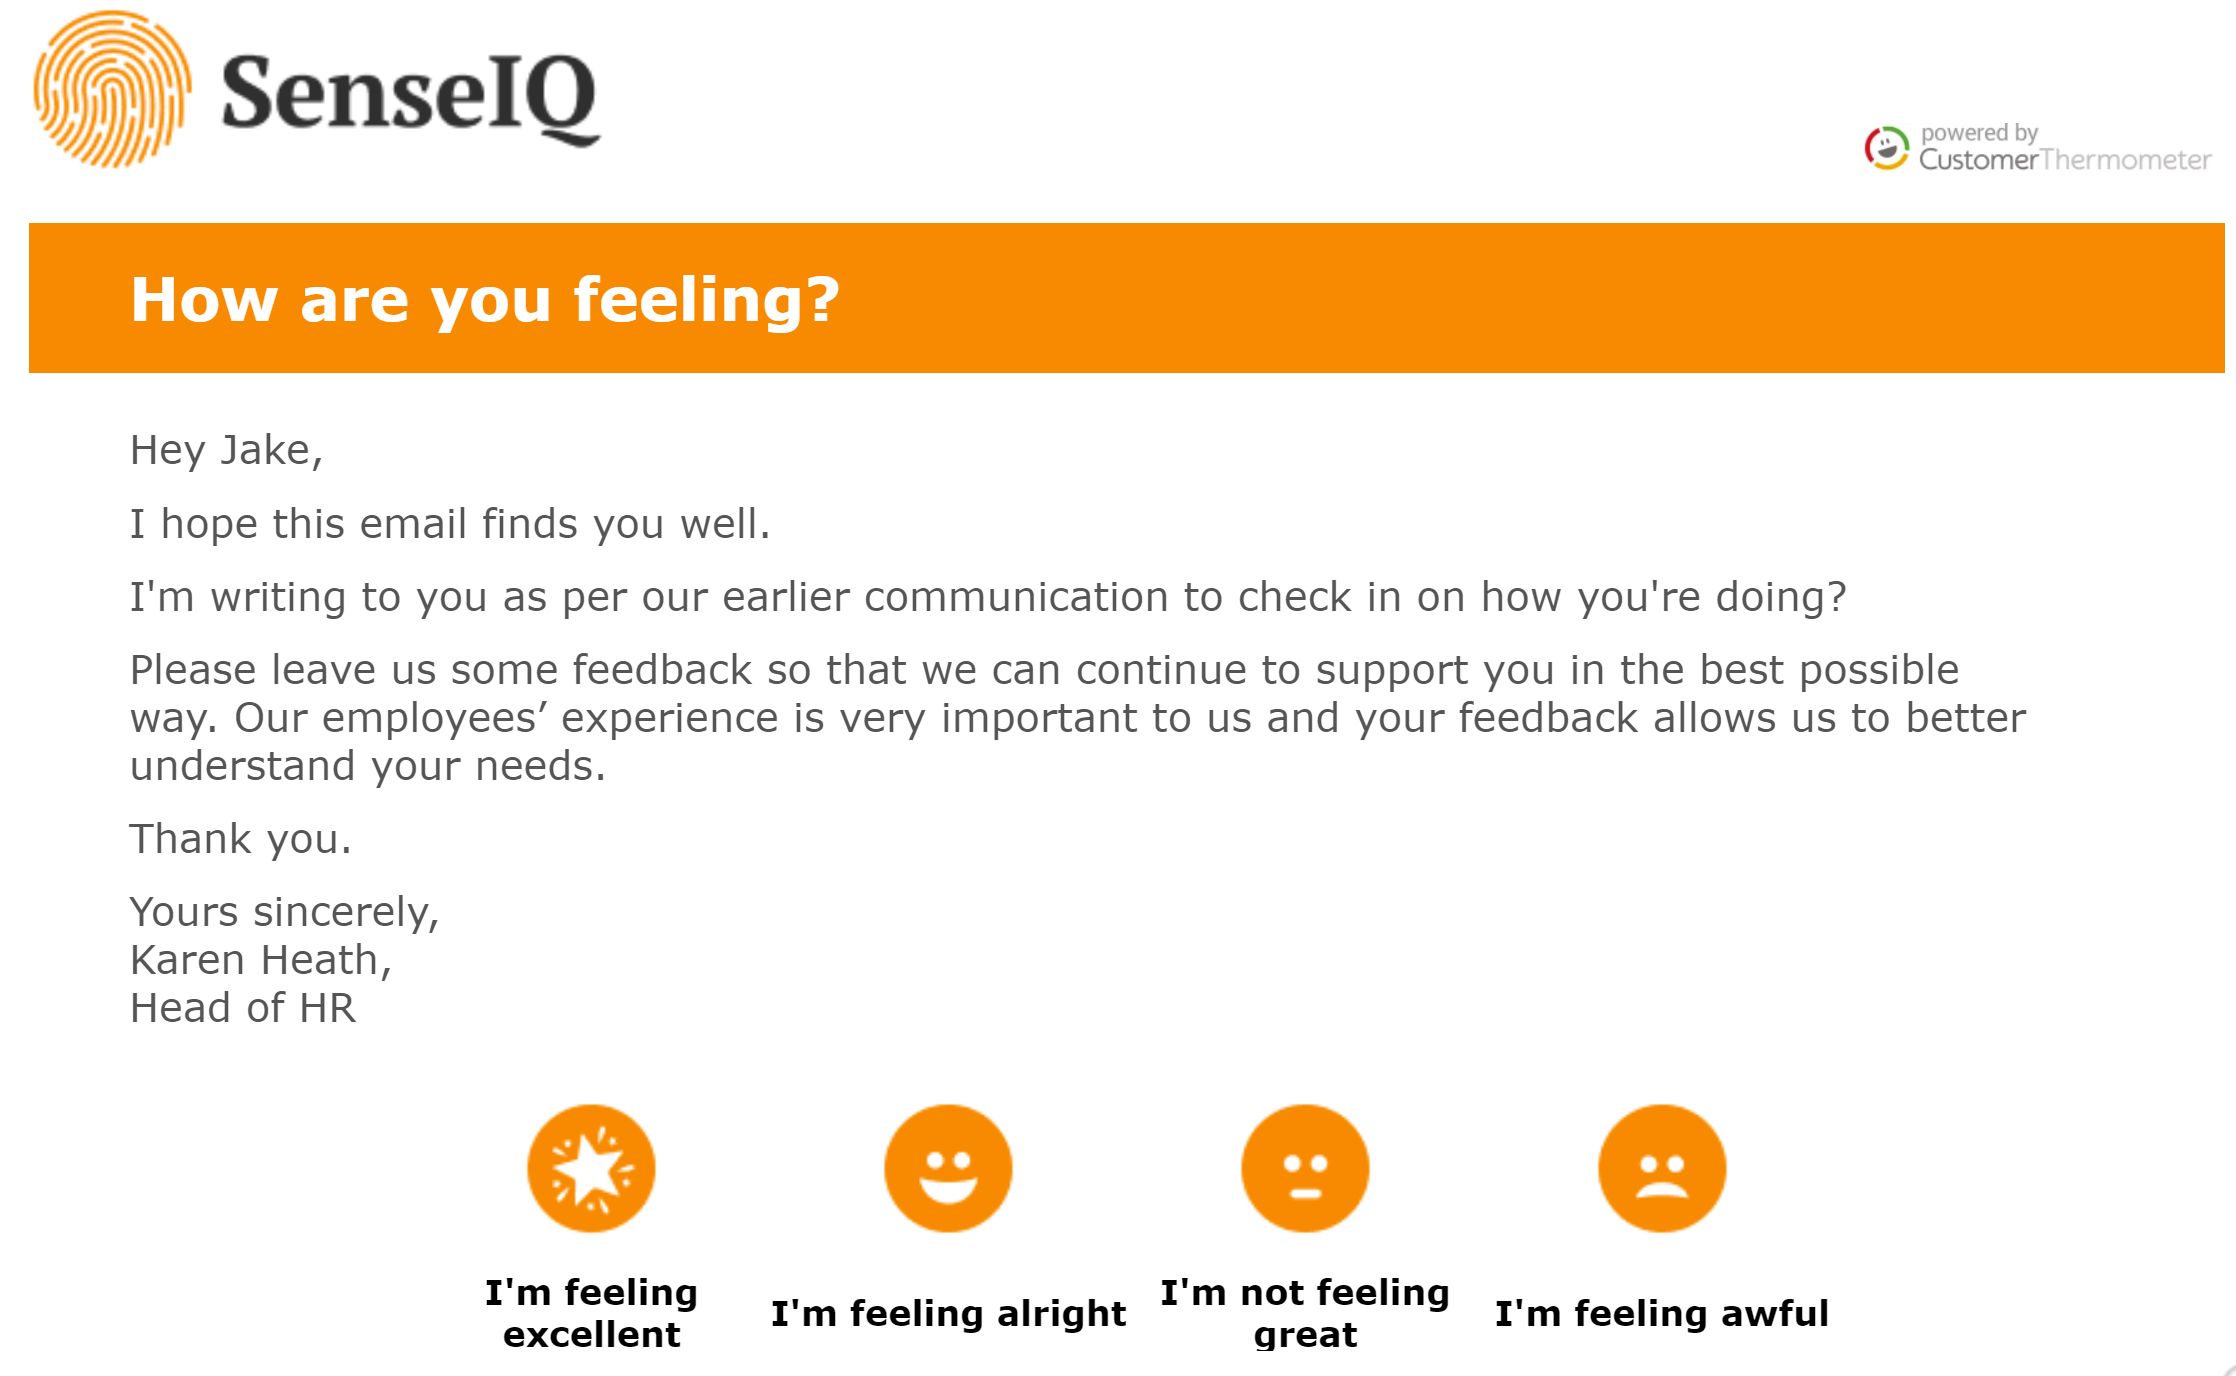
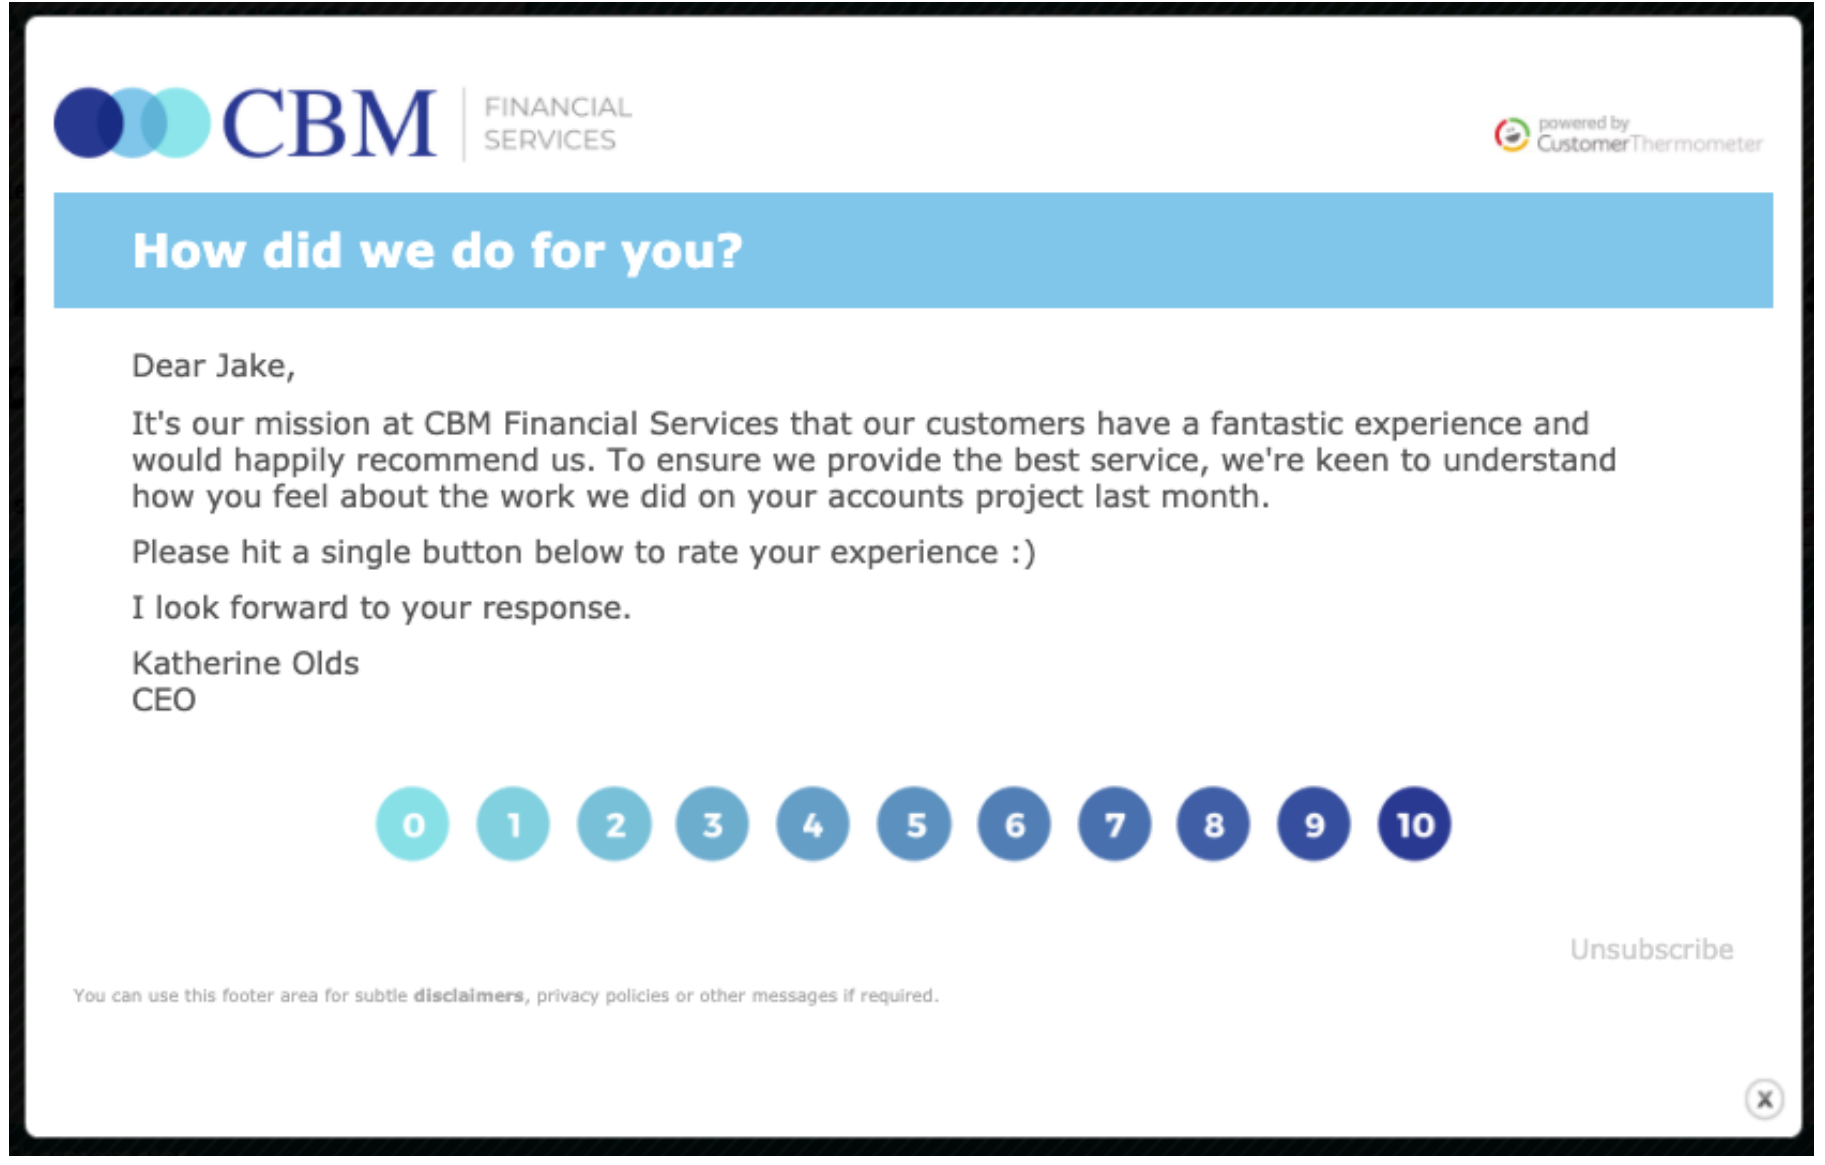
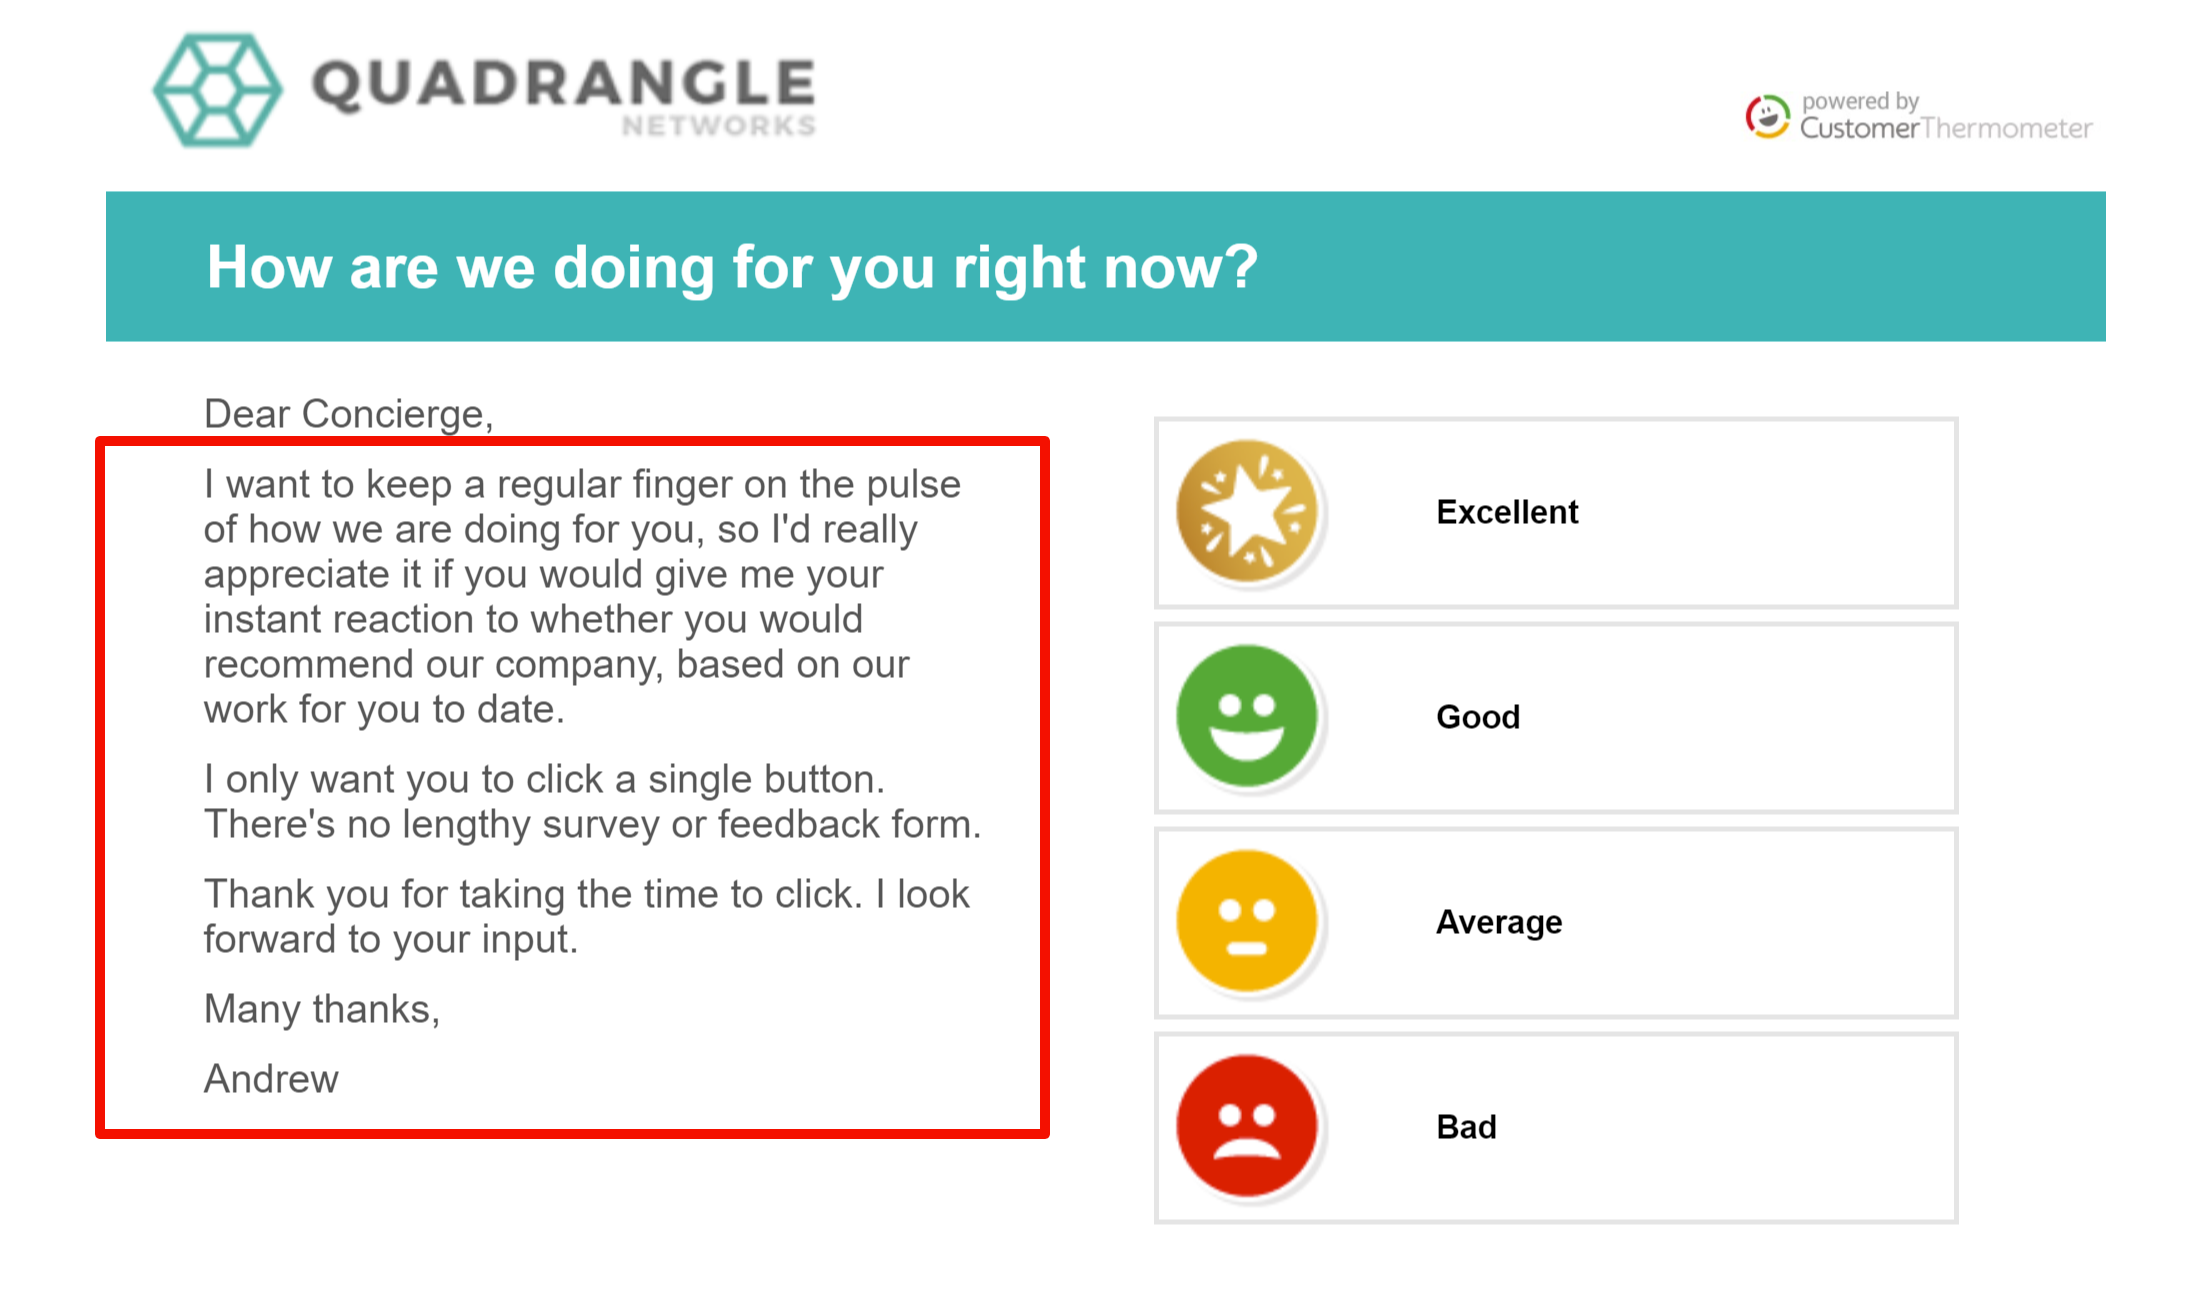
What question would you like to ask?
This question will appear in the main title bar of the email template. This is not the subject line of the email – that’s set below.
Find question inspiration and example questions from our templates 👍
Enable Net Promoter Score reporting?
This will appear if you’ve enabled NPS (and are on Jumper plan or above). If enabled for a specific Thermometer, you will be able to view NPS reporting for any associated Blasts, in your reporting section.
What do you want the subject line of the email to be?
Discover best practices for subject lines that boost response rates.
Would you like to add a salutation?
This will appear before the first name (when present) at the start of your email template:
Note – when you preview your Thermometer template, the name appearing after the salutation is the one that is set within your Account details screen.
Enter your email body text
This is your explanatory text to go along with your survey. It's best to be as clear as you can on why you want people to provide a rating.
We support all character sets and right-to-left languages such as Arabic and you can also choose your font from a list of web-safe fonts.
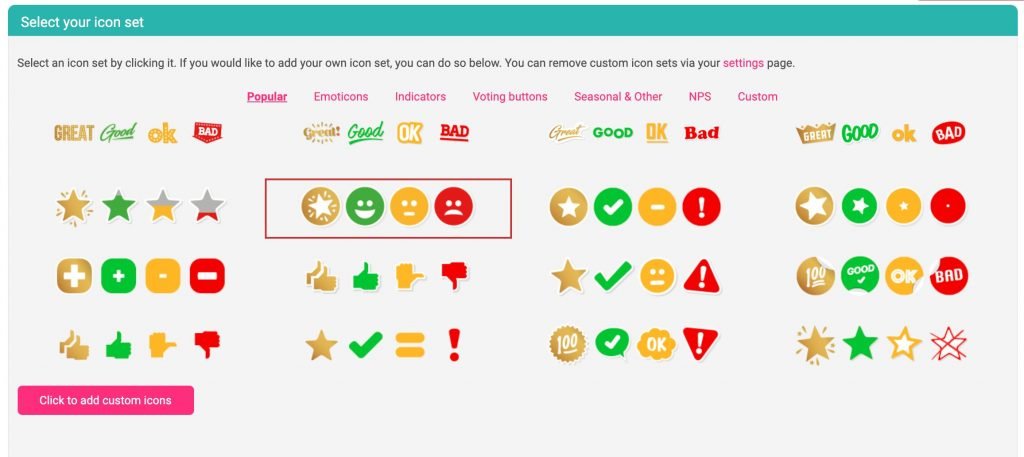
Select your icon set
Click on an icon set to include them within your template. Alternatively, you can upload your own.
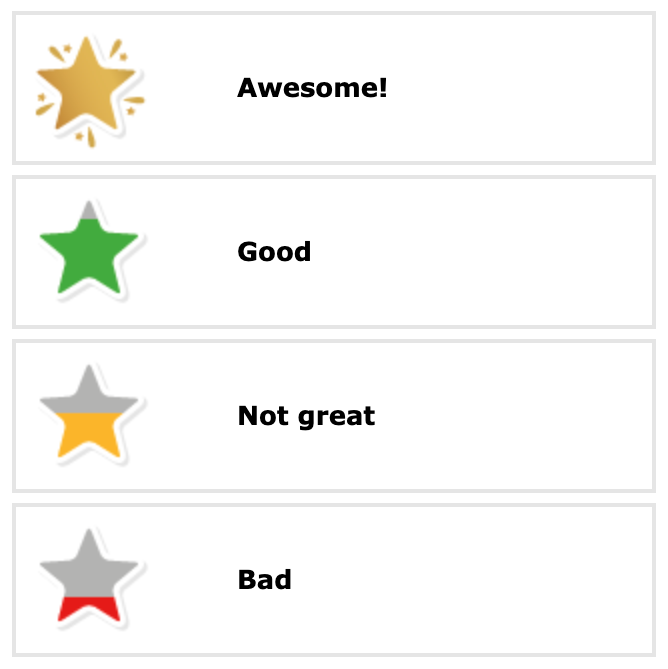
Name your temperature ratings
You can add text to display next to your icons to describe what each represents.
Note the “characters left” recommendation. Whilst you don’t have to follow it – keep your text simple.
Upload a logo to appear in your Email Thermometer
We suggest it’s around 300px wide x 90px tall. JPG, GIF and PNG files only.

Choose a colour for the title bar
Use the colour picker OR if you have a corporate HEX code, paste it into the box. Ensure there’s a ‘#’ before the number. You’ll see the colour immediately appear.
The question text in the title bar box will switch from light to dark, depending on colour.
Who will this Email Thermometer come from, when sent?
This will set the FROM address – the name and email address your recipients will see in their inbox.
It’s important to enter a real name and email address for external recipients. This will help with both trust and deliverability.
Please do not use email addresses from public mail services such as Gmail, Yahoo or AOL.
If you are sending your survey internally, understand the best approach for sending blasts and avoiding email rejections.
Email Thermometer reply-to address
Enter a real email address, which is monitored regularly.
Recipients may click “reply” to the email. If they do, their emails will go to this address.
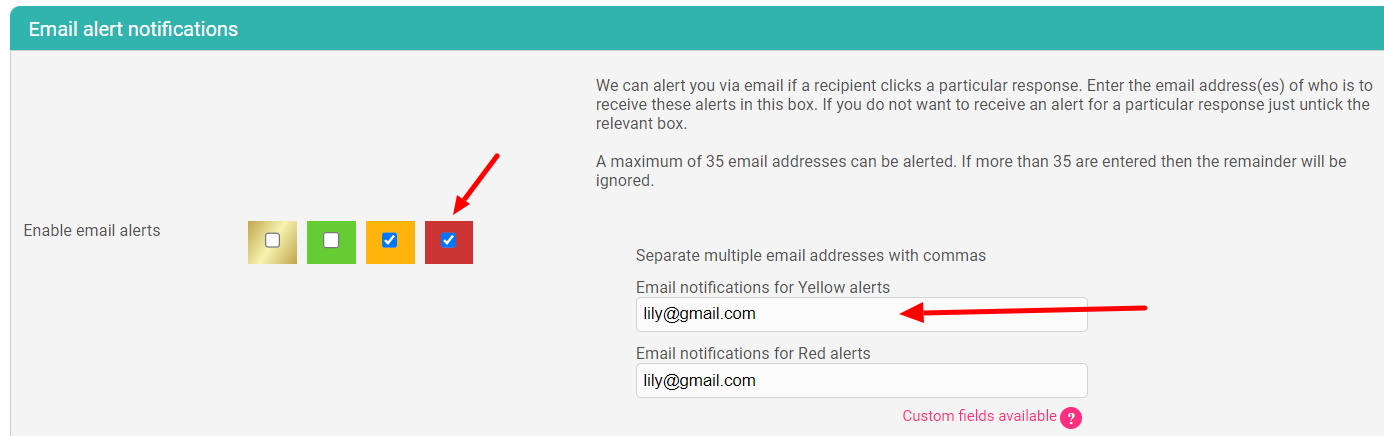
Email alert notifications
You can set up instant email alerts to be sent to recipients of your choice and you can choose to have them sent to different individuals depending on which colour response was clicked.
Select the rating type that you would like to receive alerts for by ticking the box and then enter the appropriate email address(es) of where you would like the alerts to be sent.
Previewing your Email Thermometer
At any point, you can click the preview button (top or bottom of the screen) to see how your creation is looking. Note that when you click preview, your template will be saved too.

Your template will pop up in a preview box. Make as many edits as you wish before sending.
If you’ve used Custom fields, they will be displayed with “%%” and will only be merged on sending.
Landing page
It’s time to get those Thank you pages looking beautiful!
See below for a step-by-step walkthrough:
Recipient Opt-In
You also have the choice to add a tick box on your Thank you page.
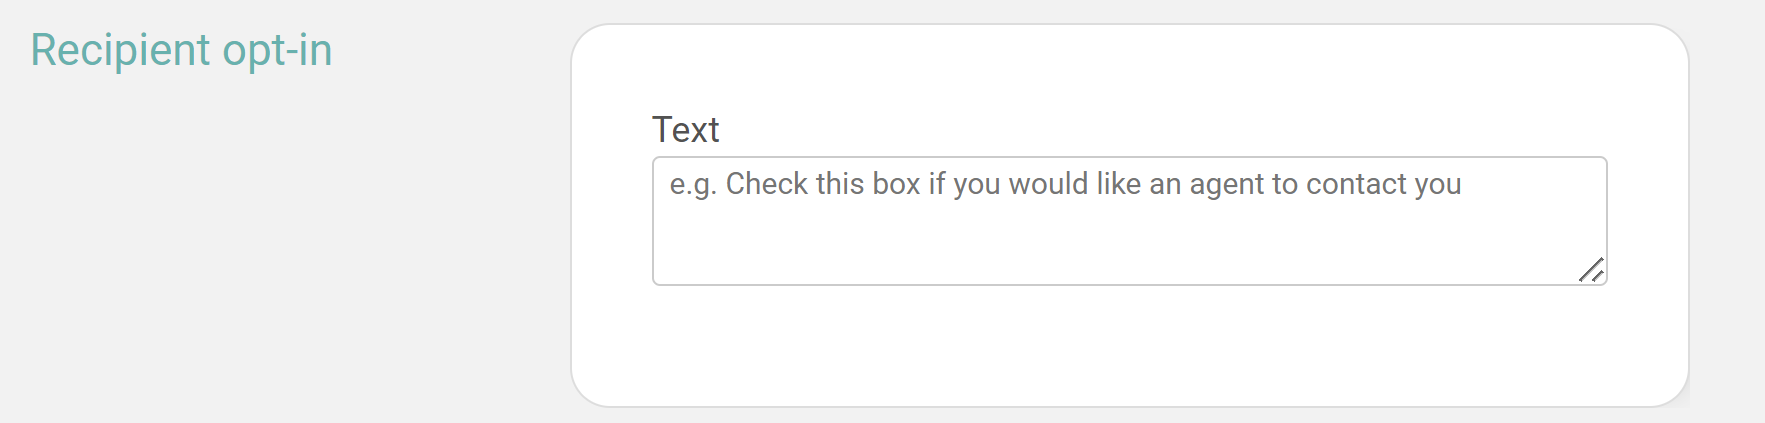
You may want to use this whilst surveying colleagues to ask if they'd like to be contacted with regards to their feedback for example.

If the box is ticked you'll be able to see this in your data export or if using the API getBlasts call.
If you do not wish to use the tick box simply leave the text box blank.
Drivers
Response Drivers give you that extra piece of insight as to why a recipient has clicked on a certain icon. They allow you to really pinpoint the areas which need improving or rewarding within your business by classifying those essential pieces of feedback.
You can add up to 8 Drivers for your respondents to choose from and tailor these to show depending on the rating given.
When you’re ready hit save. CONGRATULATIONS! Your survey is ready to go!
Sending a test
Once you are happy with your preview – you can send the registered account holder a test by clicking the orange envelope button. Please note where your test emails will be sent to:
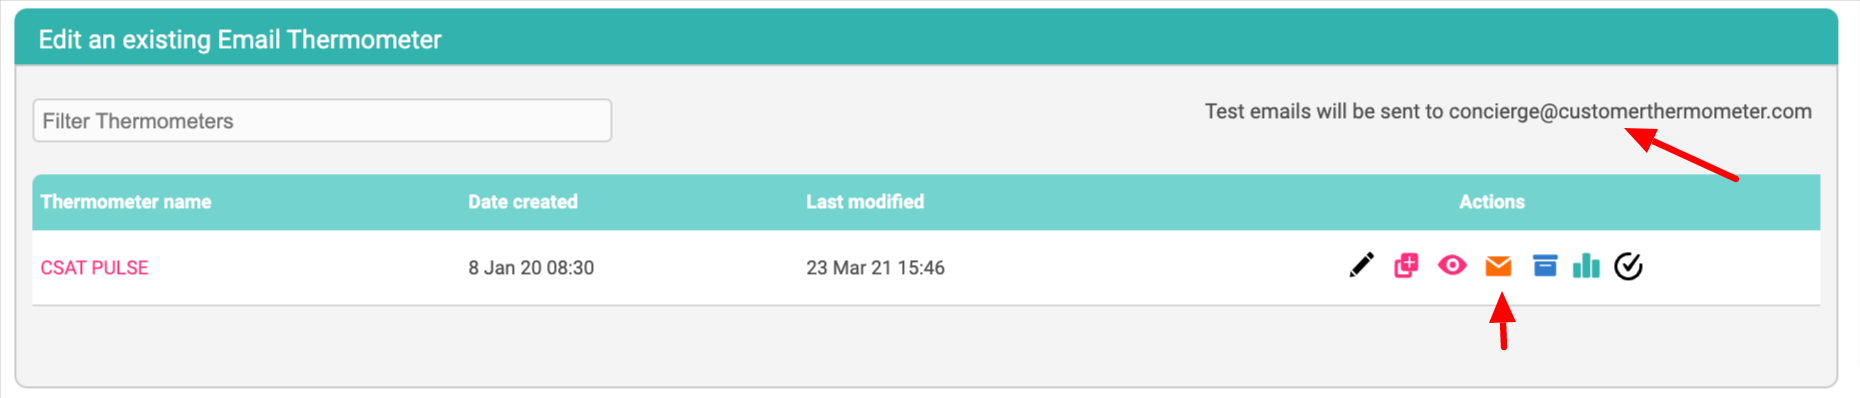
When the Email Thermometer arrives in your inbox – you are free to click the ratings. They will not register responses (as it’s a test). Instead, you’ll be shown a confirmation you’ve clicked a test email.
Don't forget you can create a single Email Thermometer template or as many as you wish for different scenarios. For example, create a “pulse” template, to be sent to key customers each month or a template for surveying a specific event.